Drywall, also written as dry wall, is the panel material used to create smooth internal walls and ceilings. In Australia, drywall is more commonly called plasterboard, and many people also use the brand name Gyprock when talking about plasterboard wall and ceiling linings.
Plasterboard is lightweight, affordable, quick to install, and available in specialised types including moisture-resistant, fire-rated, and soundproof varieties. In Australia, professional installation typically costs between $30 and $60 per square metre.
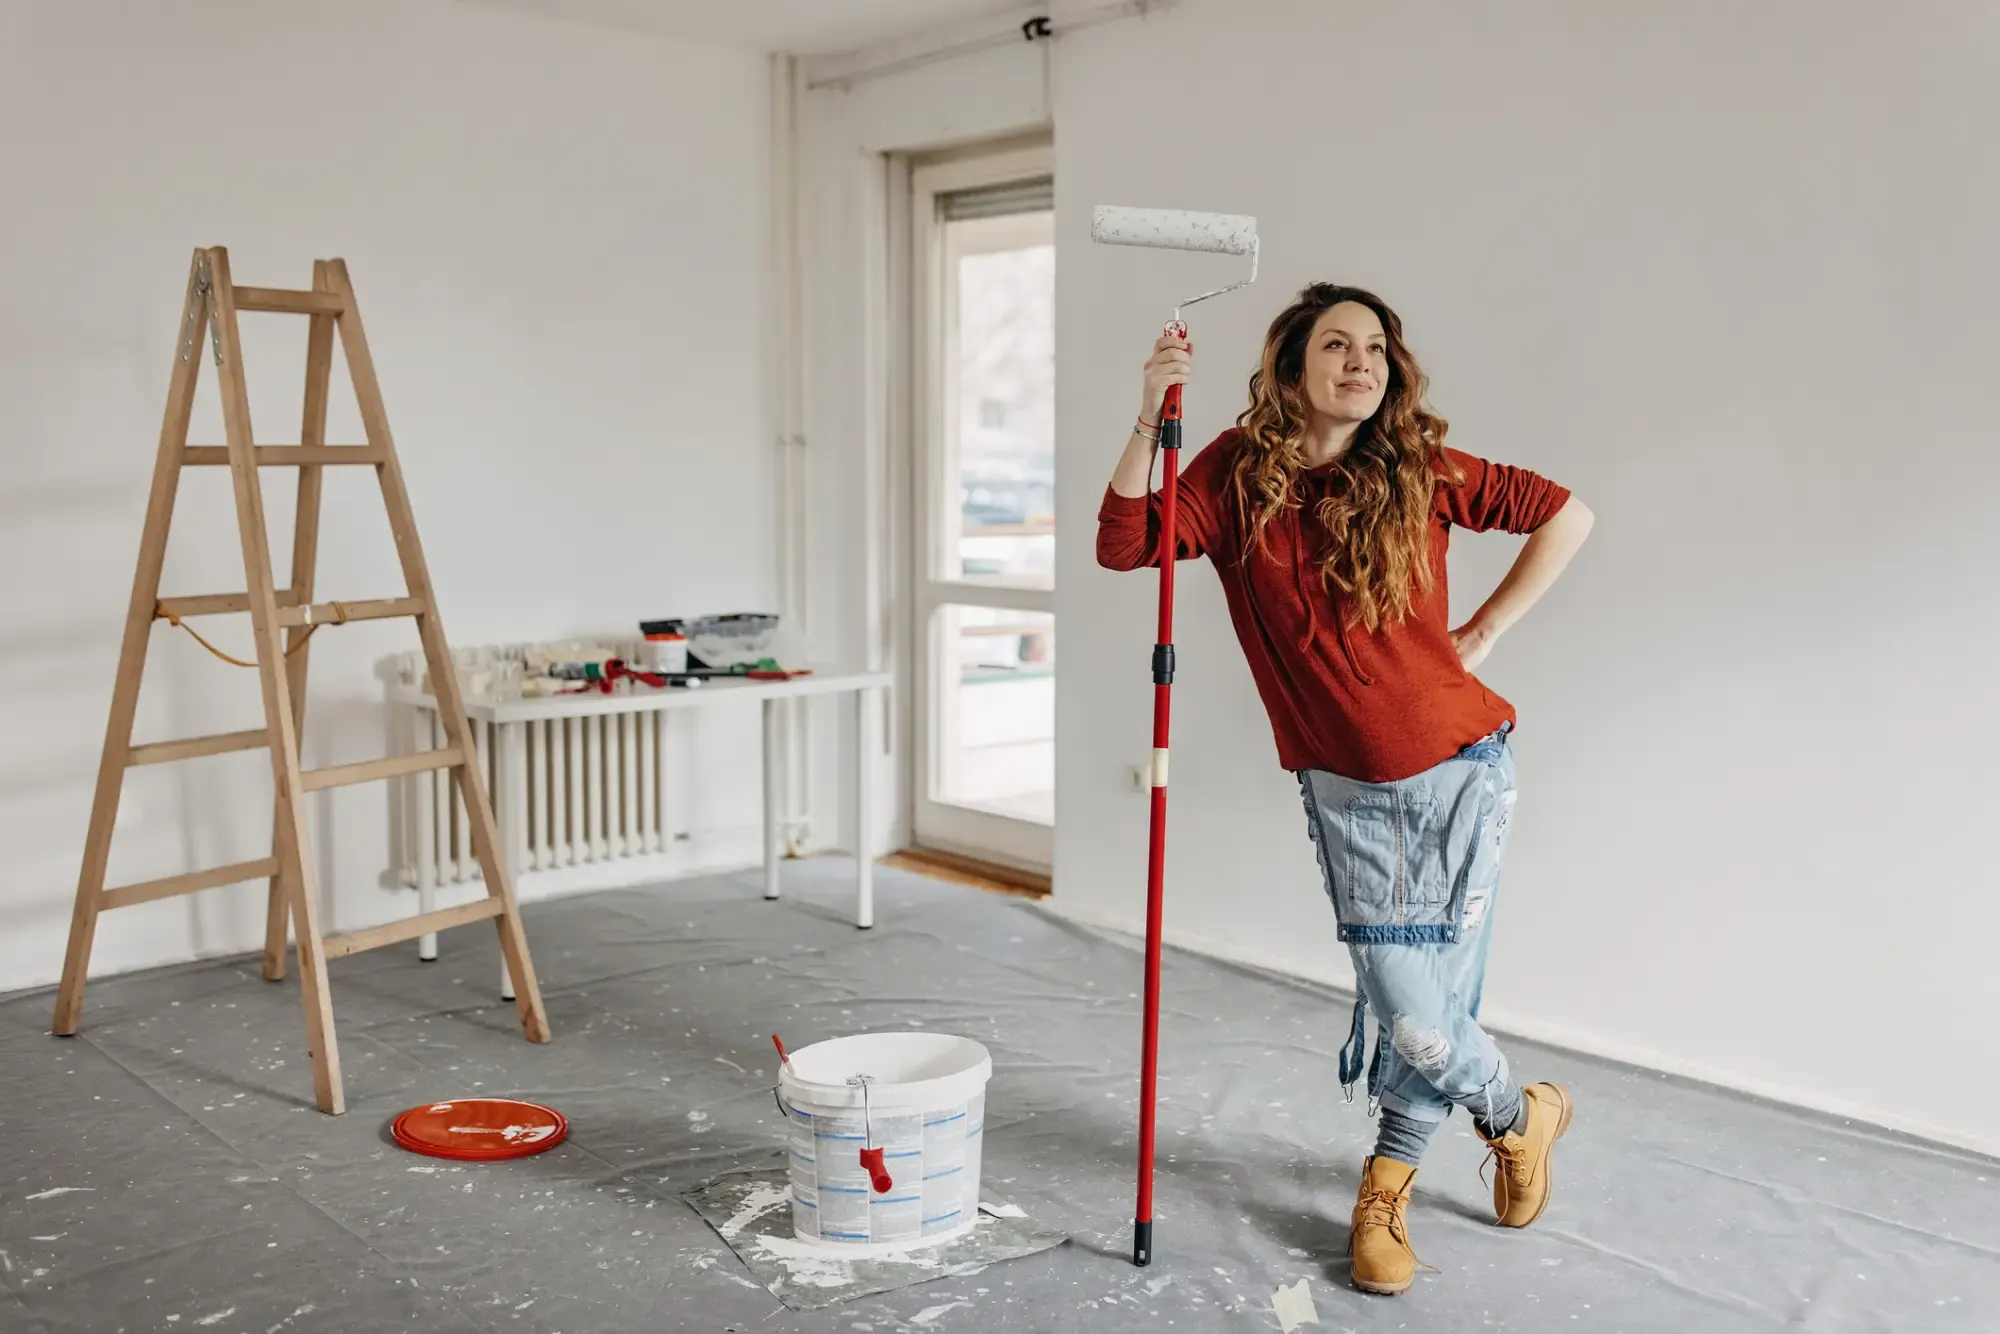
Seeing Cracks, Water Stains or Poor Plasterboard Repairs?
Drywall and plasterboard defects can become useful evidence if a dispute starts later. Learn how to document cracks, leaks, movement and poor finishes the right way.
Document Defects
Plasterboard has been the dominant wall and ceiling material in Australian construction for decades. It replaced the older and more labour-intensive wet plaster method, offering builders and homeowners a faster, more cost-effective way to finish interior spaces. For home buyers, renovators and property owners, plasterboard is not just a wall finish. Cracks, sagging ceilings, mould marks, water stains and poor patching can point to leaks, movement, poor installation or hidden defects.
What Is Drywall?
Drywall, also called plasterboard, gypsum board, or by the brand name Gyprock in Australia, is a gypsum-based building panel used for internal walls, ceilings and partitions. Australian and New Zealand Standard AS/NZS 2588:2018 describes gypsum plasterboard as a lining material for walls, ceilings and partitions that provides a surface suitable for decorative finishes. It is used to create smooth, flat surfaces for interior walls and ceilings. The material is lightweight but strong enough to handle normal household wear.
A standard plasterboard sheet has a gypsum core pressed between paper liners. Once fixed to a frame, the joins are taped, coated with jointing compound, sanded and finished with paint or another decorative treatment.
In everyday Australian language, these terms are often used for the same type of wall lining:
| Term | Meaning in Australia |
|---|---|
| Drywall | Common overseas term, especially in North America |
| Dry wall | Search spelling variation of drywall |
| Plasterboard | Standard Australian term |
| Gyprock | Brand name often used like a generic term |
| Gypsum board | Technical material-based term |
| Plaster board | Spaced variation of plasterboard |
Brief History of Drywall
Drywall was invented in 1916 as a faster and more affordable alternative to traditional wet plaster walls. It gained wide adoption during the housing booms of the mid-20th century, particularly after World War II, when the demand for rapid construction methods was at its peak. Today, plasterboard is a standard part of building practices across Australia and the world.
QWhat Is Drywall Called in Australia?
Drywall is usually called plasterboard in Australia. Gyprock is also widely used because CSR Gyprock is a leading plasterboard brand with plasterboard, compounds, cornices and finishing products used across Australian construction.
Drywall vs Plaster
Drywall and plaster are not the same. Drywall or plasterboard is installed as sheets. Traditional plaster is applied wet over a substrate and built up in coats.
| Feature | Drywall or plasterboard | Traditional plaster |
|---|---|---|
| Main form | Pre-made gypsum board sheets | Wet plaster applied in layers |
| Installation speed | Faster sheet installation | Slower, more labour heavy |
| Finish | Smooth after jointing and sanding | Smooth or decorative finish |
| Repairs | Small holes and cracks are usually easier to patch | Repairs can need more trade skill |
| Common use | Modern Australian homes and commercial interiors | Older homes, heritage work and decorative finishes |
Traditional plaster can be durable, but it often takes longer to repair or replace. Plasterboard is faster to install, easier to cut and widely available for modern wall and ceiling work.
Drywall vs Plasterboard vs Gyprock
Drywall and plasterboard generally refer to the same building product. The main difference is regional wording.
| Comparison | Answer |
|---|---|
| Drywall vs plasterboard | Same general product, different common wording |
| Is drywall the same as plasterboard? | Yes, in most Australian home contexts |
| Is drywall the same as Gyprock? | Gyprock is a brand of plasterboard, not the only plasterboard product |
| Gypsum board vs plasterboard | Gypsum board describes the material, plasterboard is the common building term |
| Drywall Australia | Usually called plasterboard or Gyprock |
CSR Gyprock states that plasterboard is used as an internal wall and ceiling lining in residential and commercial lightweight framed construction.
What is Drywall Made of?
Drywall is made mainly from gypsum plaster formed into a flat board and faced with paper liners. AS/NZS 2588:2018 covers gypsum plasterboard requirements for domestic, commercial and industrial applications.
The exact formulation changes by product type. Moisture-resistant plasterboard, fire-rated plasterboard, acoustic plasterboard and impact-resistant plasterboard use different core treatments, paper liners or additives to suit their purpose.
For example, moisture-resistant plasterboard may have a treated core, face and back to resist moisture and humidity in bathrooms, kitchens and laundries.
Types of Drywall Panels
Different plasterboard types suit different rooms and performance needs.
| Type of plasterboard | Common use | What to check |
|---|---|---|
| Standard plasterboard | Bedrooms, living rooms, hallways and dry internal areas | Not suited to wet or damp areas |
| Moisture-resistant plasterboard | Bathrooms, laundries, kitchens and other wet areas | Check correct board type and waterproofing |
| Fire-rated plasterboard | Garages, separating walls, stair areas and fire-rated systems | Check product and system requirements |
| Acoustic plasterboard | Bedrooms, media rooms, offices and shared walls | Works best with the right framing and insulation |
| Impact-resistant plasterboard | Hallways, rentals, schools and busy commercial spaces | Useful where walls may be bumped or damaged |
- Standard plasterboard: The most common type, used for general wall and ceiling applications in dry areas.
- Moisture-resistant (green board): Designed for bathrooms, kitchens, and laundry rooms where humidity is a concern. Uses a water-resistant core and facing.
- Fire-rated plasterboard: Manufactured with fibreglass and other additives to slow the spread of flames. Commonly used in garages, stairwells, and commercial buildings.
- Soundproof plasterboard: Designed with extra layers or denser cores to reduce noise transmission. Suitable for home theatres, bedrooms, and office spaces.
- Impact-resistant plasterboard: Reinforced for high-traffic areas like hallways, schools, and commercial spaces where walls are more likely to be bumped or hit.
Water-resistant boards are made with special materials to improve moisture-resistant properties in damp areas such as bathrooms and kitchens, and references AS/NZS 2588 for gypsum plasterboard.
Common Thicknesses and Sizes
In Australia, plasterboard comes in standard thicknesses and sheet sizes:
| Common Use | Notes | |
|---|---|---|
| 10mm | Walls in residential properties | Adequate strength, lightweight |
| 13mm | Ceilings to prevent sagging, particularly in larger spans | Most common ceiling thickness in residential builds |
| 16mm | Commercial applications and areas needing extra fire resistance | Used where higher performance is required |
Standard sheet sizes are 1200mm x 2400mm and 1200mm x 3000mm, though custom sizes can be ordered for specific projects.
Common Plasterboard Thickness Australia
Plasterboard thickness in Australia depends on the product, application and framing. Common residential and commercial options include 10mm and 13mm boards, while some fire, acoustic or impact systems may use thicker or multiple layers.
| Thickness | Common Australian use | Source-backed note |
|---|---|---|
| 10mm plasterboard | General residential walls and some ceilings | Gyprock Plus is a 10mm plasterboard used as a residential wall lining and may be used on ceilings with 450mm joist centres. |
| 10mm ceiling board | Residential ceilings with suitable joist spacing | Gyprock Supaceil is a 10mm residential ceiling lining designed to span up to 600mm joist centres. |
| 13mm plasterboard | Commercial walls and ceilings, and more solid residential linings | Gyprock Standard 13mm is used as a wall and ceiling lining in commercial applications and can also be used in residential work for a more solid lining. |
The correct thickness depends on wall or ceiling use, joist spacing, fire rating, acoustic needs, moisture exposure and the manufacturer’s installation guide.
What Is Joint Compound Called in Australia?
Joint compound is commonly called plasterboard jointing compound, plaster compound, base coat, top coat or finishing compound in Australia. Gyprock lists plasterboard, compounds, cornices and accessories as part of its product range.
Jointing compound is used over plasterboard joins, screw heads and patches. A poor jointing job may show as ridges, bubbling tape, cracking, shadow lines or uneven paint finish once light hits the wall.
The Installation Process
Framing
Secure wooden or metal studs to create the wall or ceiling framework, making sure alignment and support are correct. Stud spacing is typically 450mm or 600mm on centre.
Measuring and cutting
Cut plasterboard panels to fit the required dimensions using a utility knife or saw. Measure twice and cut once to minimise waste.
Securing panels
Attach the panels to the framework using screws or nails, making sure they sit flush and are properly fastened at regular intervals.
Taping and mudding
Apply joint tape and plaster compound (mud) to all seams and screw holes for a smooth, continuous surface.
Sanding and finishing
Sand the dried compound to achieve a smooth surface ready for painting or wallpapering. Multiple coats may be needed for higher finish levels.
Priming and painting
Apply a primer coat before the final paint for a professional, durable finish that adheres properly to the plasterboard surface.
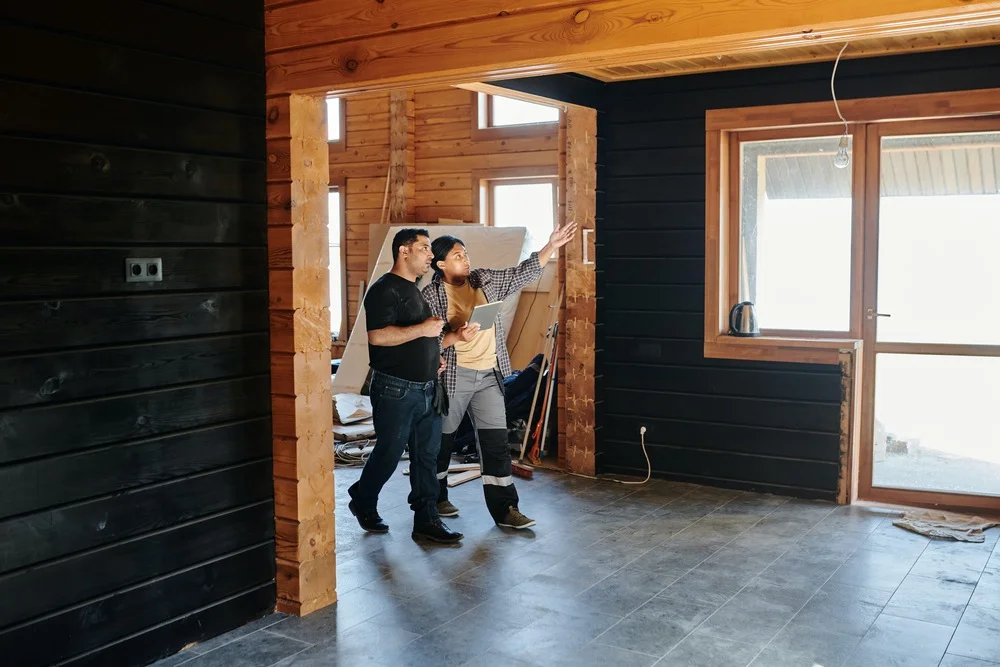
Need Clarity on a Plasterboard or Wall Defect?
If cracking, sagging ceilings, water stains or mould keep coming back, an independent defect investigation can help identify whether the issue is cosmetic or linked to a deeper building problem.
Investigation Report
Finishing Levels Explained
Plasterboard finish quality affects how the wall looks after painting. Poor finish work can become very clear in rooms with bright natural light, downlights or gloss paint.
| Finish level | Where it may be used |
|---|---|
| Level 1 | Concealed spaces or service areas |
| Level 2 | Garages or areas where appearance is less visible |
| Level 3 | Areas receiving heavy texture or some wall coverings |
| Level 4 | Common painted residential and commercial walls |
| Level 5 | High-visibility areas with strong light or glossier finishes |
- Level 1: Basic joint taping for concealed areas like attics and storage spaces.
- Level 2: A thin coat of compound for semi-finished areas like garages, where appearance is secondary.
- Level 3: Additional layers of compound for light texture, suitable for walls that will receive heavy wallpaper.
- Level 4: A smooth finish ready for standard paint or wallpaper, suitable for most residential and commercial applications.
- Level 5: The highest quality finish, ideal for glossy paints and spaces with bright lighting where any imperfection would be visible.
Plasterboard Defects Buyers Should Check
A plasterboard wall can look simple, but it may show clues about wider building problems.
Check for:
- Cracks along wall and ceiling joints
- Diagonal cracks around doors or windows
- Nail pops or screw pops
- Sagging plasterboard ceilings
- Water stains on walls, ceilings or cornices
- Bubbling paint or swollen skirting boards
- Mould on or near plasterboard
- Uneven surfaces or patchy repairs
- Gaps at cornices or wall junctions
- Standard board used where a moisture-resistant board should be used
NSW Government advises buyers to check for damp or mould along skirting boards, walls and ceilings, and to be cautious of paint jobs used to cover mould.
If cracks, sagging ceilings, water stains or uneven plasterboard finishes are visible, a defect investigation report may help confirm whether the issue is cosmetic or linked to a deeper building problem.
Wet Areas, Bathrooms and Moisture-Resistant Plasterboard
Bathrooms, laundries and kitchens need the right plasterboard type, ventilation and waterproofing. If there are mould marks, musty smells or recurring damp patches, a mould inspection can help identify likely moisture sources.
The Victorian Building Authority states that compliant waterproofing in wet areas helps prevent mould growth and structural damage, and it outlines NCC requirements for waterproof or water-resistant areas in buildings.
Moisture-resistant plasterboard is not a replacement for waterproofing. It is part of the wall system, while waterproofing membranes, sealants, tiles and correct installation all affect long-term performance.
Benefits of Drywall in Construction
- Fire resistance: Fire-rated plasterboard slows the spread of flames, providing additional safety time during a fire event.
- Sound insulation: Soundproof plasterboard reduces noise transmission between rooms, improving comfort in multi-room dwellings.
- Energy efficiency: Plasterboard contributes to thermal insulation, helping maintain indoor temperatures and reduce energy costs.
- Quick installation: Significantly faster than traditional plaster, reducing labour costs and project timelines.
- Cost-effectiveness: Affordable material with lower installation costs compared to alternatives, making it budget-friendly for most projects.
Maintenance and Repair
Proper maintenance extends the life of plasterboard and prevents costly repairs:
- Use moisture-resistant plasterboard in wet areas and address any leaks immediately
- Fill small holes with spackle or filler compound, sand smooth, and repaint
- For larger holes, cut out the damaged section and patch with a new piece of plasterboard
- Repair cracks along joints with joint compound and reinforcing tape
- Watch for signs of mould on plasterboard surfaces, particularly in bathrooms and kitchens, as this may indicate a moisture problem behind the wall
If a room smells musty, has wall marks or feels damp, this guide to hidden home issues explains why the problem may not be the furniture or paintwork alone. For more on identifying moisture-related issues, see our guide to mould inspection techniques.
Cost Considerations
Plasterboard cost changes with location, access, sheet type, ceiling height, finish level, removal work and trade availability.
| Material Cost (per sheet) | Installation Cost (per sqm) | |
|---|---|---|
| Standard Plasterboard | $10 to $20 | $30 to $60 |
| Moisture-Resistant | $15 to $30 | $35 to $65 |
| Fire-Rated | $20 to $40 | $40 to $70 |
| Soundproof | $25 to $50 | $45 to $80 |
For budget checks, seek current local quotes rather than relying on a single national figure. Specialist products such as fire-rated, acoustic or moisture-resistant plasterboard may cost more than standard board. Repairs may also cost more if the plasterboard damage is caused by a leak, mould, termite activity or movement in the building.
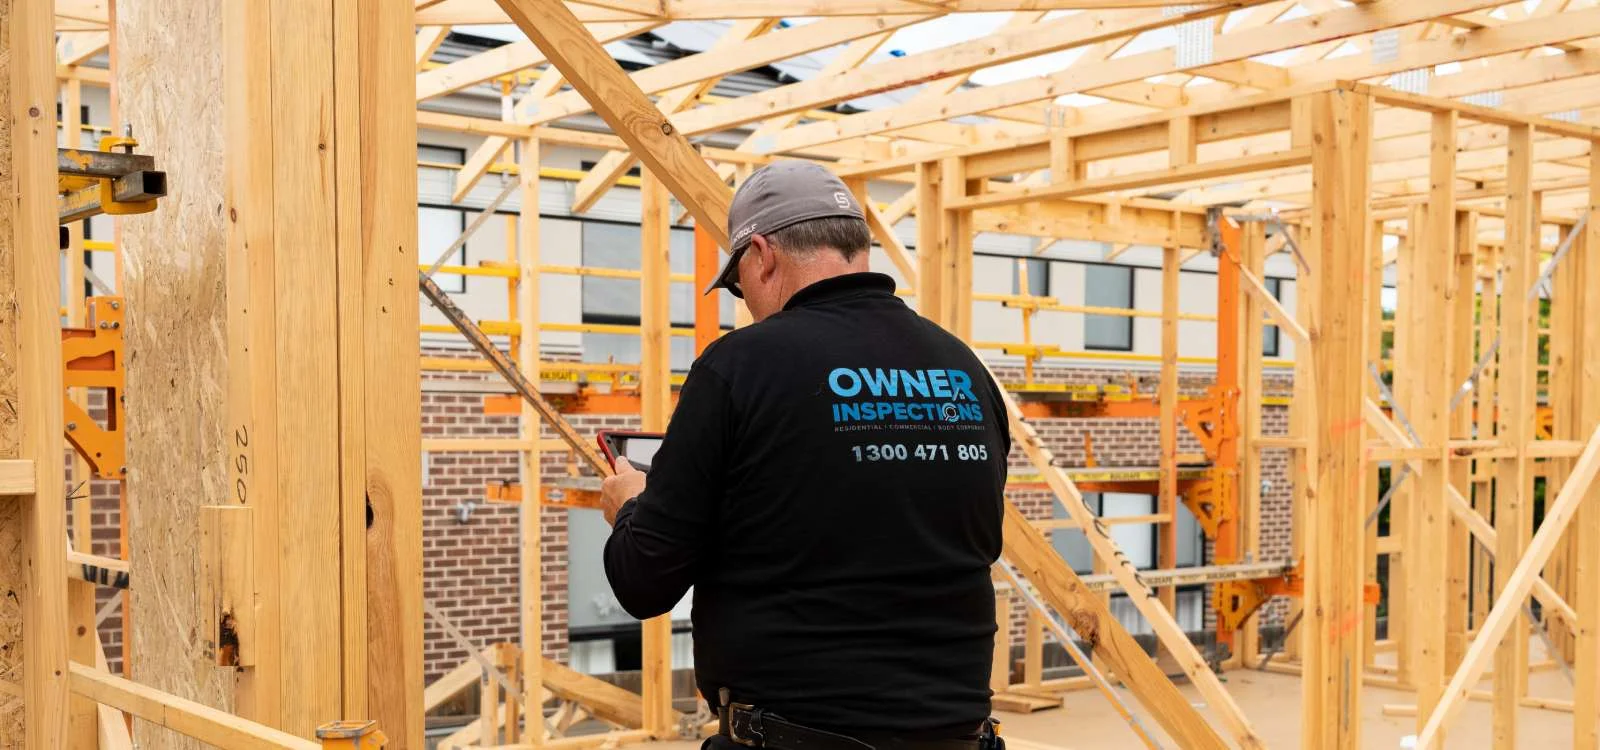
Why This Matters During a Building Inspection
Plasterboard often hides framing, plumbing, wiring, insulation and waterproofing. A visual inspection cannot see inside every wall, but surface defects can help guide further investigation.
Owner Inspections checks visible wall and ceiling linings during pre-purchase inspections, building and pest inspections, new construction stage inspections, mould inspections and defect investigation reports.
Common inspection notes may include:
- Visible plasterboard cracking
- Signs of moisture entry
- Mould-like staining
- Sagging ceiling lining
- Poor joint setting
- Uneven finishes
- Damaged cornices
- Possible hidden leaks
- Defects that need a builder or trade review
For property buyers, these findings can help guide repair budgeting, contract decisions and further specialist checks.
Getting the Most Value from Your Home and Building Investment
Drywall may be a common search term, but in Australia the word most buyers, builders and inspectors use is plasterboard. Knowing the difference between drywall, plasterboard and Gyprock can help you read quotes, understand inspection reports and ask better questions before buying or renovating.
Before purchasing a home, look closely at walls and ceilings for cracking, water stains, mould, sagging, patching and uneven finishes. These signs may be minor, but they may also point to leaks, movement, poor workmanship or hidden defects.
Owner Inspections provides independent property inspections across NSW, Victoria and Queensland. Book a pre-purchase inspection, building and pest inspection, new construction stage inspection, mould inspection or defect investigation report to understand what is happening behind the surface.
Get Independent Advice Before You Buy, Renovate or Dispute a Defect
Owner Inspections can check visible wall and ceiling defects, moisture signs, mould concerns and other property issues before they become costly surprises.
Inspections
Key Takeaways
- Drywall is usually called plasterboard in Australia.
- Gyprock is a leading Australian plasterboard brand and is often used as a common name for plasterboard.
- Drywall, plasterboard, gypsum board and Gyprock are closely related terms, but Gyprock is a brand name.
- AS/NZS 2588:2018 sets requirements for gypsum plasterboard used as a lining material for walls, ceilings and partitions.
- Common plasterboard thicknesses in Australia include 10mm and 13mm, but the correct board depends on the wall or ceiling system.
- Moisture-resistant plasterboard should be used in suitable wet area systems, but it does not replace waterproofing.
- Cracks, sagging, water stains and mould on plasterboard may point to bigger property defects.
- A building inspection can help identify visible plasterboard defects before they become costly repair issues.
Frequently Asked Questions
What is drywall?
What is drywall called in Australia?
Is drywall the same as plasterboard?
Is Gyprock the same as drywall?
What is drywall made of?
What is plasterboard made of?
How thick is plasterboard in Australia?
What is the difference between drywall and plasterboard?
What is the difference between drywall and plaster?
What plasterboard defects do building inspectors look for?
Related Articles
Lock-Up vs Fixing Stage in Construction
The lock up stage creates a secure, weatherproof environment while the fixing stage focuses on addressing defects and completing finishes. Learn the key differences.
What Are the Types of Ceiling Materials?
Ceilings shape interior spaces, affecting atmosphere and lighting quality. Explore different ceiling materials from drywall to wood and understand their benefits.
Common Frame Defects and How to Address Them
A home's framing system serves as its structural skeleton. This guide covers common frame defects in Australian homes, their causes, and how to identify and address them during construction inspections.