When building a new home or undertaking major renovations, understanding the distinct stages of construction is essential for effective project management and quality assurance. Two critical phases that often cause confusion are the lock-up stage and the fixing stage, each serving fundamentally different purposes in the construction process.
The lock-up stage marks a significant milestone where major structural elements are completed, creating a secure and weatherproof environment. In contrast, the fixing stage focuses on interior finishing work, addressing defects, and preparing the building for handover.
Knowing the differences between these stages helps homeowners, investors, and project managers make informed decisions about inspections, progress payments, and quality control. Each stage requires specific expertise and presents unique opportunities for defect detection that, if missed, can lead to costly rectification works down the track.
Understanding the distinction between lock-up and fixing stages is not just about construction terminology. It directly impacts your ability to identify defects at the right time and ensure your builder delivers quality workmanship throughout the project.
Understanding the Lock-Up Stage
The lock-up stage, also known as the enclosed stage or weather-tight stage, represents a pivotal point in residential construction. At this stage, the building has progressed to the point where it is secure from the elements and can be locked to prevent unauthorised access.
Definition and Timing
Lock-up typically occurs after the frame has been erected, external cladding installed, roofing completed, and external windows and doors fitted. The building envelope is now complete, providing protection from weather conditions such as rain, wind, and extreme temperatures.
In a standard residential build, the lock-up stage usually occurs approximately 12 to 16 weeks after construction commences, depending on the size and complexity of the project. This timing can vary based on weather conditions, material availability, and the efficiency of the construction team.
Key Activities Completed at Lock-Up
Several major construction elements must be completed before a building reaches lock-up stage. These include the following essential components.
| Component | Description | Quality Indicators |
|---|---|---|
| Structural Frame | Complete wall framing, roof trusses, and load-bearing elements | Straight walls, level floors, plumb door frames |
| Roofing | Roof covering, sarking, gutters, and downpipes installed | Watertight, properly fixed tiles or sheeting, adequate falls |
| External Cladding | Brick veneer, rendered walls, weatherboards, or other cladding | Consistent finish, proper flashings, weep holes functional |
| Windows and Doors | External windows and doors installed with weather seals | Properly sealed, operable locks, weatherstripping intact |
| Fascias and Eaves | Fascia boards, eave linings, and external trims completed | Straight lines, proper paint finish, adequate ventilation |
Structural Significance of Lock-Up
The lock-up stage is significant because it marks the completion of the building's structural shell. At this point, the major load-bearing elements, including the foundation, frame, and roof structure, are in place and can be assessed for quality and compliance with engineering specifications.
- Weather protection: The building is now protected from rain, wind, and temperature extremes, allowing interior work to proceed regardless of weather conditions
- Secure environment: With lockable doors and windows, the site becomes more secure, reducing risk of theft or vandalism of materials and fixtures
- Progress payment milestone: Lock-up typically triggers a significant progress payment under most building contracts, making inspection particularly important
- Inspection opportunity: This is the last opportunity to inspect structural elements before they are covered by internal linings
Common Activities During Lock-Up Stage
While the building becomes weatherproof at lock-up, several important activities occur during and immediately following this stage to prepare for interior finishing work.
Insulation Installation
With the building envelope complete, insulation can be installed in walls and ceilings. This includes bulk insulation batts, reflective foil sarking, and acoustic insulation where required. Proper installation is critical for thermal performance and compliance with energy efficiency requirements under the National Construction Code.
Rough-In Services
Plumbing and electrical rough-in work typically occurs around lock-up stage. This involves running pipes, cables, and conduits through the frame before wall linings are installed. The rough-in stage is critical for detecting defects in services that will become hidden once plasterboard is fixed.
- Water supply pipes and drainage installed to correct positions
- Electrical cables run through frame with switch and power point boxes positioned
- HVAC ductwork installed where applicable
- Communication and data cabling roughed in
Drywall and Flooring Preparation
Preparation for internal linings begins at lock-up stage. This includes installing flooring underlayment, preparing surfaces for plasterboard, and ensuring all structural elements are ready for finishing work. Any frame adjustments needed for straight walls and level ceilings should be addressed before plasterboard installation.
Initial Paint and Protective Coatings
External elements that require paint protection, such as fascias, bargeboards, and timber trim, receive their initial coats during the lock-up stage. This protects these elements from weather damage while internal work proceeds.
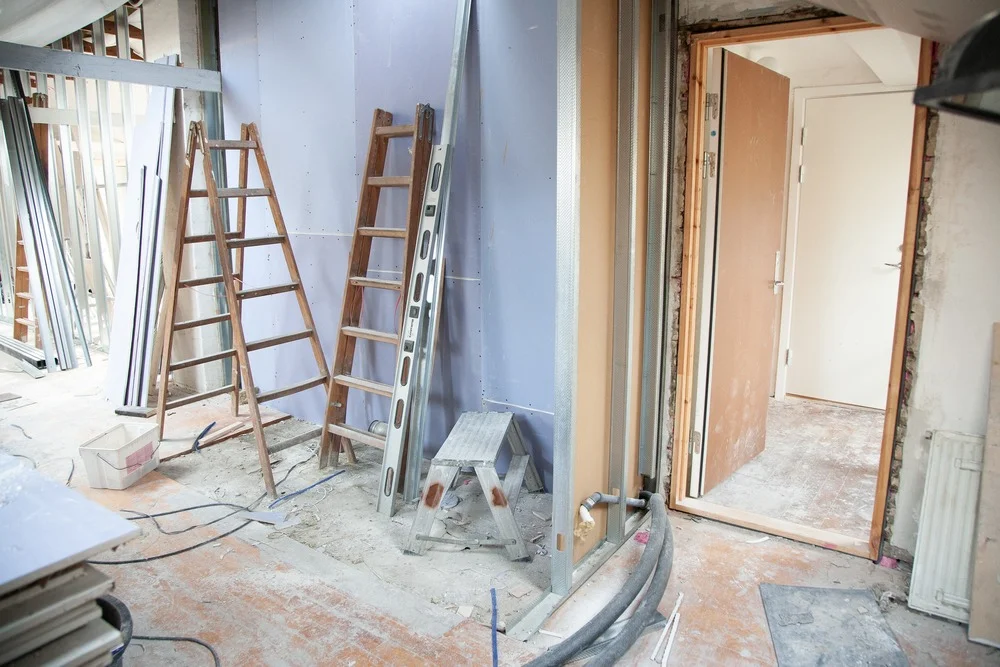
Understanding the Fixing Stage
The fixing stage represents the transition from structural construction to finishing work. This stage focuses on installing fixtures, addressing defects, and completing the interior to a standard ready for occupation. The name derives from the process of attaching or fixing interior elements to the structure.
Definition and Timing
The fixing stage typically follows the completion of internal wall linings, including plasterboard installation, cornice fitting, and initial painting. It represents the final push towards practical completion, where the dwelling becomes suitable for habitation.
In most residential construction projects, the fixing stage occurs approximately 4 to 8 weeks after lock-up, depending on the scope of interior finishes and the complexity of fixture installation. This stage can take anywhere from 4 to 12 weeks to complete.
Key Activities During Fixing Stage
The fixing stage encompasses a wide range of finishing activities that transform the building shell into a liveable home.
| Activity | Description | Quality Considerations |
|---|---|---|
| Defect Rectification | Addressing issues identified in previous stage inspections | Verify all noted defects have been properly corrected |
| Trim and Architrave Installation | Door architraves, skirting boards, window sills, and decorative trim | Tight joints, consistent reveal, proper mitres, no gaps |
| Fixture Hookups | Connecting plumbing fixtures, power points, and appliances | Watertight connections, correct wiring, functional operation |
| Flooring Installation | Timber, tiles, carpet, vinyl, or other floor coverings | Level surface, proper adhesion, consistent patterns, clean cuts |
| Paint Touch-Ups | Final paint coats and touch-ups after fixture installation | Consistent colour, no runs or drips, clean edges around fixtures |
| Final Cleaning | Builder's clean to remove construction debris and prepare for handover | Clean windows, clear debris, remove labels and protective films |
Detailed Breakdown of Fixing Stage Activities
Addressing Defects from Previous Stages
A critical component of the fixing stage is rectifying defects identified during earlier inspections. This includes addressing frame alignment issues visible in plasterboard, fixing waterproofing concerns in wet areas, and correcting any structural deficiencies noted at lock-up.
Defect rectification during fixing stage should be thorough because this is often the last opportunity before practical completion. Issues that remain unaddressed may become subject to warranty claims or disputes during the defects liability period.
Completing Interior Trim Work
The fixing stage sees the installation of all decorative and functional trim elements that give the home its finished appearance.
- Door architraves: Timber or MDF trim surrounding door frames, requiring precise mitred corners and consistent reveals
- Skirting boards: Base trim connecting walls to floors, hiding expansion gaps and providing a finished transition
- Window sills and reveals: Interior trim completing window installations with proper falls for condensation drainage
- Cornices: While often installed earlier, cornice joints and corners are finished during fixing stage
Final Fixture Hookups
The rough-in work completed at lock-up stage now receives its final fixtures and connections.
- Plumbing fixtures: Basins, toilets, showers, baths, and tapware installed and connected to water supply and drainage
- Electrical fixtures: Switches, power points, light fittings, and exhaust fans connected and tested
- Kitchen appliances: Cooktop, oven, rangehood, and dishwasher installed and connected
- Laundry equipment: Washing machine taps, dryer vents, and trough connections completed
Flooring Installation
Floor coverings are typically one of the last elements installed to prevent damage from ongoing construction activities. The fixing stage sees the completion of all flooring types specified in the building contract.
- Timber and laminate floating floors with appropriate expansion gaps
- Ceramic and porcelain tiles with consistent grout lines and proper adhesion
- Carpet installation with correct underlay and professionally stretched fitting
- Vinyl and resilient flooring with seamless joints and proper edge treatment
Final Painting and Touch-Ups
While initial painting occurs before fixing stage, the installation of fixtures and trim inevitably causes minor damage that requires attention.
- Touch-up painting around door frames and hardware
- Final coat on skirting boards and architraves
- Repair of scuffs and marks from fixture installation
- External paint completion and touch-ups as needed
Final Cleaning and Preparation
The fixing stage concludes with a comprehensive builder's clean that prepares the dwelling for handover.
- Removal of all construction debris, packaging, and materials
- Cleaning of all windows, mirrors, and glass surfaces
- Removal of protective films from appliances and fixtures
- Vacuuming of all floor surfaces and wiping of benchtops
- External site clean-up and removal of temporary structures
Key Differences Between Lock-Up and Fixing Stages
Understanding the fundamental differences between these two construction stages is essential for effective project management and quality control. While both represent important milestones, their focus, activities, and implications for defect detection differ significantly.
Structural Focus vs. Detail Focus
The most fundamental difference between lock-up and fixing stages lies in their respective focus areas.
| Aspect | Lock-Up Stage | Fixing Stage |
|---|---|---|
| Primary Focus | Structural integrity and weather protection | Interior finishing and aesthetic completion |
| Work Type | Major construction and building envelope | Fine details and finishing touches |
| Defect Impact | Structural defects, long-term building performance | Aesthetic defects, functionality of fixtures |
| Rectification Cost | High cost if defects found later | Generally lower cost to rectify |
| Inspection Priority | Frame alignment, roof integrity, waterproofing | Finish quality, fixture operation, completeness |
| Timeline Position | Mid-construction, approximately 60% complete | Near completion, approximately 90% complete |
| Progress Payment | Typically 35% to 40% of contract value | Typically 15% to 20% of contract value |
Significant Construction vs. Finishing Tasks
The nature of work at each stage differs dramatically in scale, complexity, and the tradespeople involved.
Lock-Up Stage Characteristics
- Heavy construction: Work involves structural elements like framing, roofing, and external cladding that form the building's skeleton
- Multiple trades simultaneously: Framers, roofers, bricklayers, and window installers often work concurrently
- Weather dependent: External work can be affected by rain, wind, and temperature extremes
- Major equipment required: Cranes, scaffolding, and heavy machinery are commonly used
- Significant material deliveries: Large quantities of timber, steel, bricks, and roofing materials arrive on site
Fixing Stage Characteristics
- Interior focus: Work occurs primarily inside the weatherproof building envelope
- Sequential trades: Work tends to follow a sequence, with plasterers preceding painters, who precede floor layers
- Weather independent: Most work can proceed regardless of external conditions
- Hand tools predominant: Work involves hand tools and smaller power tools rather than heavy equipment
- Fixture deliveries: Smaller, more frequent deliveries of fixtures, appliances, and finishing materials
Inspection Priorities at Each Stage
The inspection focus differs significantly between lock-up and fixing stages, reflecting the different risks and opportunities at each point.
Lock-Up Inspection Priorities
- Frame alignment using laser levels and plumb bobs
- Roof installation quality, including tile bedding and flashing
- Window and door installation, including weatherseals and hardware
- External cladding, including weep holes and cavity clearance
- Sarking and insulation installation compliance
- Rough-in plumbing and electrical before wall closure
Fixing Stage Inspection Priorities
- Plasterboard quality, including joints, corners, and finish
- Paint finish consistency and coverage
- Trim installation, including mitres, reveals, and gaps
- Fixture operation and connection quality
- Flooring installation and transitions
- Overall completion and readiness for handover
Consequences of Missing Defects
The implications of failing to identify defects differ substantially between the two stages.
Lock-Up Stage Defect Consequences
Defects missed at lock-up stage often become hidden behind wall linings and can have severe long-term consequences.
- Frame misalignment: Results in doors that do not close properly, cracked plasterboard, and uneven floors throughout the building's life
- Roofing defects: Lead to water ingress, ceiling damage, mould growth, and timber rot that may not become apparent for years
- Waterproofing failures: Cause structural damage, mould issues, and potential health hazards that are extremely expensive to rectify
- Plumbing rough-in issues: Can result in concealed leaks causing timber rot, mould, and eventual failure
Fixing Stage Defect Consequences
While still important, defects at fixing stage are generally more visible and easier to rectify.
- Paint defects: Can be touched up or repainted relatively easily
- Trim issues: Gaps and poor mitres can be corrected without major disruption
- Fixture problems: Can usually be adjusted or replaced with minimal impact on other work
- Flooring defects: May require section replacement but are generally accessible for repair
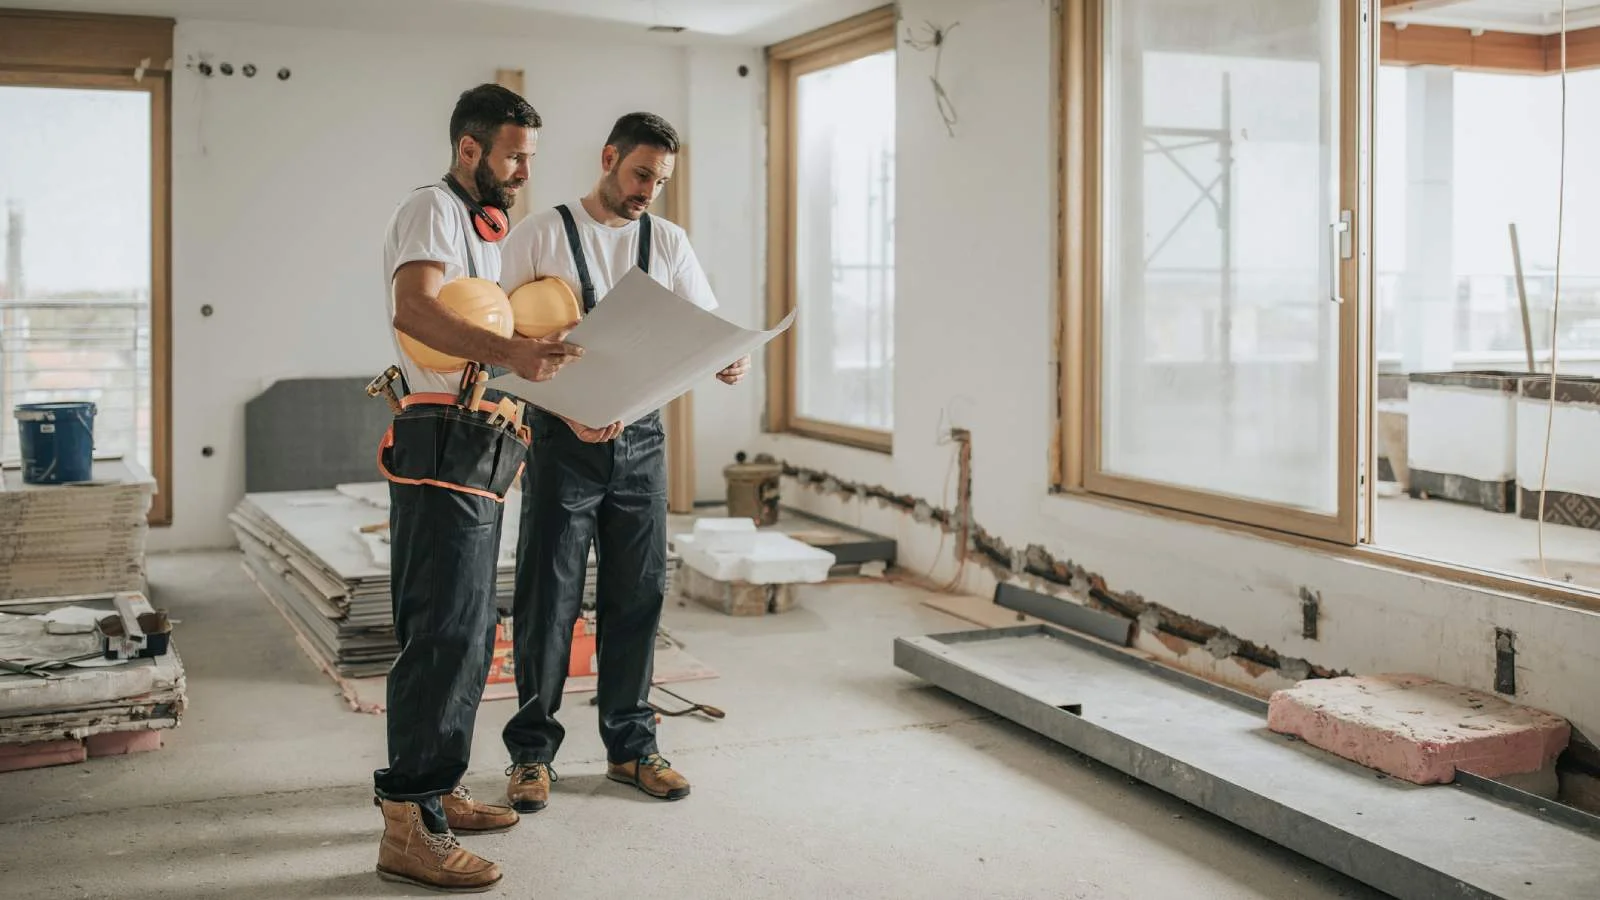
Recommendations for Managing Lock-Up and Fixing Stages
Effective management of both stages requires proactive communication, careful scheduling, and engagement of professional inspectors. The following recommendations will help ensure quality outcomes at each stage.
Communication with Your Builder
Clear, consistent communication with your builder is essential throughout the construction process, but particularly at these key stages.
- Request advance notice: Ask your builder to provide at least one week's notice before reaching lock-up and fixing stages to allow time to arrange inspections
- Document discussions: Follow up verbal conversations with written confirmation via email to create a clear record of agreements
- Clarify inclusions: Ensure you understand exactly what is included at each stage under your building contract to avoid disputes about completeness
- Request progress photos: Regular photographic updates help you monitor progress and identify potential issues before stage inspections
- Attend site meetings: Where possible, attend regular site meetings to discuss progress, address concerns, and maintain a positive working relationship
Scheduling and Timeline Management
Proper scheduling ensures inspections occur at the optimal time and that any defects can be addressed before work proceeds.
- Book inspectors early: Engage your independent inspector before construction begins so they can schedule inspections at critical points
- Allow rectification time: Build buffer time into your schedule for defect rectification between stages
- Coordinate with progress payments: Time inspections to occur before progress payments are due, giving you leverage for defect rectification
- Plan for weather delays: Recognise that lock-up stage in particular may be affected by weather, so maintain flexibility in scheduling
- Track milestone dates: Maintain a record of when each stage is reached for warranty and contract purposes
Inspection Protocols
Establishing clear inspection protocols maximises the value of professional inspections at each stage.
- Use qualified inspectors: Engage inspectors with appropriate qualifications, licensing, and professional indemnity insurance
- Attend inspections when possible: Being present allows you to see defects firsthand and ask questions about their significance
- Request detailed reports: Ensure reports include photographs, specific locations, and severity assessments for all identified defects
- Compare reports to contract: Review inspection findings against your building contract specifications to identify non-compliance
- Follow up systematically: Create a defect register and track rectification progress until all items are satisfactorily addressed
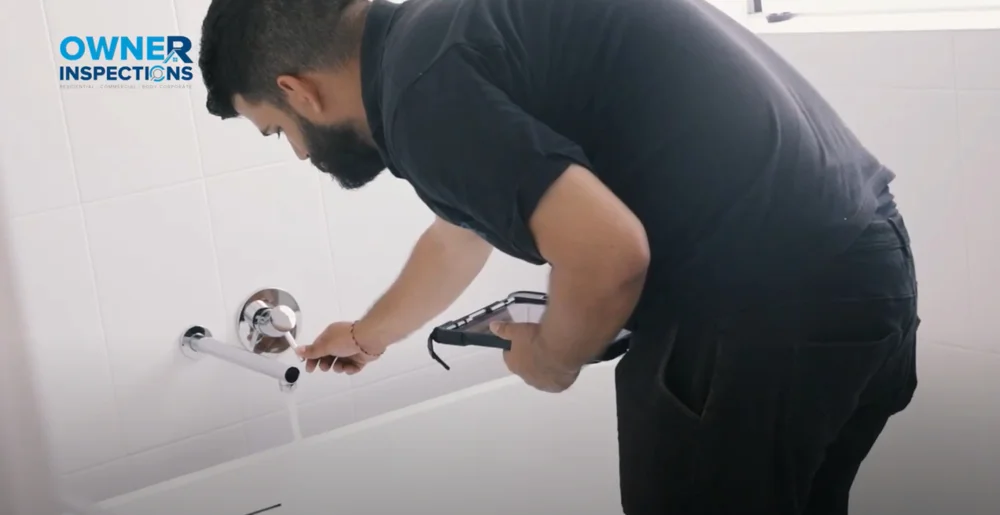
Engaging Professional Inspectors
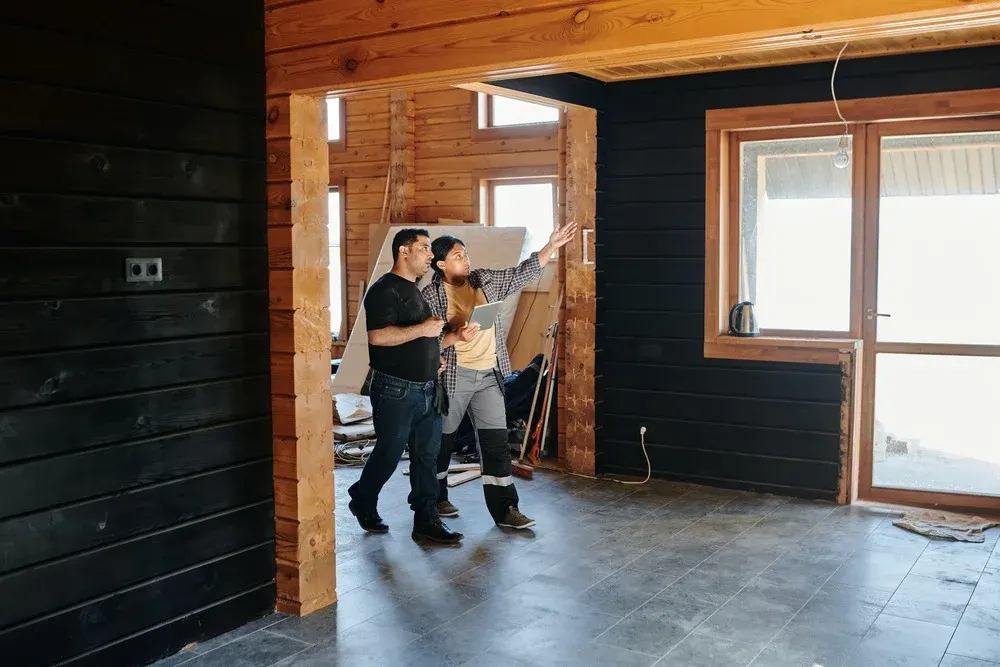
Professional independent inspectors provide expertise and objectivity that protects your investment throughout construction.
Why Professional Inspections Matter
- Technical expertise: Licensed inspectors understand Australian Standards, the National Construction Code, and industry best practices
- Specialised equipment: Professionals use laser levels, moisture meters, thermal imaging, and other tools to detect defects not visible to the untrained eye
- Independence: Unlike council or certifier inspections, independent inspectors work solely in your interests without conflicts
- Documentation: Professional reports provide evidence for defect claims and protect your position in any disputes
- Experience: Experienced inspectors have seen countless builds and can quickly identify common defects and areas of concern
What to Look for in an Inspector
- Relevant building or engineering qualifications
- Current professional indemnity insurance
- Membership in professional associations
- Positive reviews and references from previous clients
- Clear fee structure and scope of service
- Availability to conduct inspections at short notice when needed
Inspection Package Considerations
Many inspection companies offer packages covering multiple construction stages at a reduced overall cost compared to booking individually. A typical comprehensive inspection package might include the following stages.
- Slab inspection before concrete pour
- Frame stage inspection
- Lock-up stage inspection
- Waterproofing inspection in wet areas
- Fixing stage inspection
- Practical completion inspection
Progress Payment Considerations
Both lock-up and fixing stages typically trigger progress payments under standard building contracts. Managing these payments strategically helps ensure defects are addressed.
- Review contract terms: Understand exactly what must be completed before each progress payment becomes due
- Inspect before paying: Always complete your inspection before making progress payments to maintain leverage for rectification
- Document incompleteness: If work is not fully complete at the claimed stage, document this in writing before making any payment
- Withhold proportionally: Your contract may allow you to withhold an amount proportional to identified defects until rectification
- Seek advice if uncertain: If disputes arise over stage completion or defects, seek advice from a building dispute resolution service or construction lawyer
Frequently Asked Questions
What is the main difference between lock-up and fixing stages?
Short answer: Lock-up focuses on completing the weatherproof building envelope, while fixing stage focuses on interior finishing and fixture installation.
The lock-up stage marks the completion of major structural work including framing, roofing, external cladding, and window and door installation. At this point, the building is secure and weatherproof. The fixing stage occurs later and involves completing interior finishes including trim work, fixture hookups, flooring, final painting, and addressing any defects from earlier stages. Lock-up is about building the shell; fixing is about completing the interior.
How long after lock-up does the fixing stage typically occur?
Short answer: The fixing stage typically begins 4 to 8 weeks after lock-up, following completion of internal wall linings and initial painting.
After lock-up, several activities must occur before fixing stage begins. These include completion of rough-in services inspection, installation of insulation, fitting of plasterboard wall and ceiling linings, cornice installation, and initial painting. Once these elements are complete, the fixing stage can commence with trim installation, fixture hookups, and finishing work. The exact timeline depends on project size, complexity, and the efficiency of the construction team.
Which stage inspection is more important, lock-up or fixing?
Short answer: Lock-up inspection is generally more critical because structural and services defects become hidden once wall linings are installed.
While both inspections are valuable, the lock-up inspection provides the last opportunity to examine structural elements before they are concealed. Frame alignment, roofing quality, waterproofing, and rough-in services can all be assessed at lock-up but become hidden after plasterboard installation. Defects in these areas are significantly more expensive to rectify once the building is complete. The fixing stage inspection remains important for assessing finish quality and completeness but deals primarily with more readily correctable issues.
What are the most common defects found at lock-up stage?
Short answer: Common lock-up defects include frame misalignment, inadequate roofing installation, poor window sealing, and rough-in plumbing or electrical issues.
Lock-up inspections frequently identify frame elements that are out of plumb or level, which will cause problems with doors, windows, and finishes. Roofing defects including gaps between tiles, inadequate flashing, and poor gutter installation are also common. Windows and doors may have inadequate weathersealing or hardware issues. Rough-in services often reveal pipes or cables in incorrect positions, inadequate support, or non-compliant installations. Sarking and insulation deficiencies are also regularly identified.
What are the most common defects found at fixing stage?
Short answer: Common fixing stage defects include poor paint finish, gaps in trim work, fixture installation issues, flooring problems, and incomplete items.
Fixing stage inspections commonly find paint defects including missed areas, drips, inconsistent colour, and damage from subsequent work. Trim installation issues such as poor mitred corners, gaps, and inconsistent reveals are frequently identified. Plumbing and electrical fixtures may have operational problems or poor connections. Flooring defects including uneven surfaces, poor tile alignment, and inadequate transitions are common. Incomplete items that should have been finished before fixing stage are also regularly noted.
Can I conduct my own lock-up or fixing stage inspection?
Short answer: While you can conduct your own visual inspection, a professional inspector will identify defects that untrained observers typically miss.
Homeowners can certainly walk through the site and note obvious issues like crooked walls or scratched surfaces. However, professional inspectors bring technical knowledge, specialised equipment, and extensive experience that enables them to identify defects invisible to the untrained eye. Items like frame alignment within tolerance, correct roofing installation, adequate insulation coverage, and compliant electrical work require professional assessment. Given the relatively low cost of inspections compared to potential defect rectification costs, professional inspections represent excellent value.
What progress payment percentage is typical at lock-up and fixing stages?
Short answer: Lock-up typically triggers a progress payment of 35% to 40% of the contract value, while fixing stage triggers approximately 15% to 20%.
Standard building contracts in Australia typically structure progress payments around key construction milestones. A common payment schedule might include a deposit of 5% to 10%, base stage payment of 10% to 15%, frame stage payment of 15% to 20%, lock-up stage payment of 35% to 40%, fixing stage payment of 15% to 20%, and final payment of 5% at practical completion. The exact percentages vary by contract and state. Always review your specific contract to understand payment obligations.
Should I withhold progress payments if defects are found at these stages?
Short answer: You have the right to withhold payment proportional to defects, but should communicate clearly with your builder and understand your contract terms.
Most building contracts require the builder to complete each stage to a satisfactory standard before payment is due. If your independent inspection identifies defects, you are generally entitled to request rectification before releasing payment. Communicate defects in writing with supporting photographs and inspection reports. For minor defects that do not affect structural integrity or subsequent work, you might agree to a timeline for rectification while releasing most of the payment. For significant defects, particularly structural issues identified at lock-up, withholding payment until rectification is reasonable and protects your interests.
What happens if my builder claims lock-up but it is not truly weatherproof?
Short answer: Document the incompleteness in writing, arrange an independent inspection, and withhold payment until true lock-up is achieved.
Lock-up requires the building to be genuinely weatherproof and secure. If windows are missing, external doors are not installed, roofing is incomplete, or significant gaps exist in the building envelope, true lock-up has not been achieved. Document the incomplete items with photographs and written correspondence. Your independent inspector can provide a professional opinion on whether lock-up requirements have been met. Until the building is genuinely weatherproof and lockable, the lock-up progress payment should not be released. If disputes arise, seek advice from your state's building authority.
How does waterproofing inspection relate to lock-up and fixing stages?
Short answer: Waterproofing inspection is a separate critical inspection that typically occurs between lock-up and fixing stages in wet areas.
Waterproofing in wet areas such as bathrooms, laundries, and balconies must be inspected after membrane application but before tiling. This inspection often occurs after lock-up when internal wet area preparation begins but before fixing stage when tiles are installed. Waterproofing inspection verifies compliance with AS 3740 and is often mandated by councils or certifiers. Given that waterproofing failures are among the most common and expensive defects in Australian homes, this inspection is critical even though it falls between the traditional lock-up and fixing stage milestones.
Can defects from lock-up stage still be fixed during fixing stage?
Short answer: Some lock-up defects can be addressed during fixing stage, but many become significantly more expensive or impossible to fully rectify.
Minor lock-up defects that remain visible, such as external cladding issues or window adjustments, can often be addressed during fixing stage. However, defects that become concealed behind wall linings are much more problematic. Frame alignment issues manifesting as cracked plasterboard are difficult to properly fix without demolition. Rough-in plumbing or electrical defects may require removing wall linings to access. This is why lock-up inspection is so critical, as identifying defects before concealment allows for efficient and complete rectification.
What equipment do inspectors use at lock-up vs fixing stages?
Short answer: Lock-up inspections rely heavily on laser levels, moisture meters, and structural assessment tools, while fixing inspections focus more on visual assessment and fixture testing.
At lock-up stage, inspectors use laser levels and plumb bobs to verify frame alignment, moisture meters to check for water ingress, and various measurement tools to confirm compliance with specifications. Thermal imaging may detect insulation gaps. At fixing stage, inspectors focus more on visual assessment of finish quality, testing of fixtures and fittings, measurement of gaps and reveals in trim work, and verification of flooring levels. Both stages benefit from comprehensive photographic documentation to support written reports.
Is there an inspection stage between lock-up and fixing?
Short answer: Yes, the pre-plaster or internal lining inspection occurs between lock-up and fixing to check rough-in services before walls are closed up.
The pre-plaster inspection, also known as the pre-lining or internal lining inspection, is a critical stage between lock-up and fixing. This inspection examines rough-in plumbing, electrical, HVAC, insulation, and sarking before plasterboard is installed. Once wall linings are fixed, these elements become inaccessible without demolition. The pre-plaster inspection is often the most critical of all construction stage inspections because it is the last opportunity to identify and rectify services defects before concealment.
How do lock-up and fixing stage definitions vary between states?
Short answer: Stage definitions are generally consistent across Australia, though specific contract terms and regulatory requirements may vary by state.
The fundamental concepts of lock-up and fixing stages are consistent nationwide, based on industry practice and standard building contracts. However, specific requirements may vary. Different states have different home building contract regulations, with NSW, Qld, Vic, and SA each having their own consumer protection frameworks. Progress payment schedules may be regulated differently between states. Building approval and inspection requirements through councils or private certifiers also vary. Always review your specific building contract and consult your state's building authority for local requirements.
What should I do if I missed the lock-up inspection?
Short answer: Arrange an inspection as soon as possible, even if wall linings are being installed, to assess what is still visible and document any concerns.
If construction has progressed past lock-up without an inspection, arrange one immediately. Even if some elements are now concealed, an experienced inspector can still assess external elements, any areas where wall linings have not yet been installed, and visible indicators of potential problems. Request that the builder delays further wall lining installation until inspection is complete where possible. Document any concerns about concealed work in writing to your builder. While not ideal, a late inspection is always better than no inspection at all.
Key Takeaways
- The lock-up stage marks completion of the building envelope, creating a secure, weatherproof structure with frame, roofing, cladding, and external windows and doors in place.
- The fixing stage focuses on interior finishing including trim work, fixture hookups, flooring, final painting, defect rectification, and preparation for handover.
- Lock-up inspection is critical because structural and services defects become hidden once wall linings are installed, making later rectification extremely expensive.
- Fixing stage defects are generally more visible and accessible for repair compared to concealed lock-up stage defects.
- Professional independent inspections at both stages protect your investment and provide leverage for defect rectification before progress payments.
- Clear communication with your builder, proper scheduling, and systematic defect tracking are essential for quality outcomes.
- Lock-up typically triggers a progress payment of 35% to 40% of contract value, while fixing stage triggers approximately 15% to 20%.
- Engaging qualified inspectors with appropriate licensing, insurance, and experience provides technical expertise and objective assessment throughout construction.
References and Resources
- National Construction Code (NCC)
- Standards Australia
- Queensland Building and Construction Commission (QBCC)
- Victorian Building Authority (VBA)
- Master Builders Australia
- Housing Industry Association (HIA)
Related Articles
Cost-Saving Strategies for the Lock Up Stage in Construction
The lock up phase involves substantial expenses for windows, doors, and insulation. Learn proactive planning strategies and cost reduction tactics.
Understanding Lock Up Pre Plaster Stage Inspection
The lockup stage is a critical phase where structures are secured with windows, doors, and external cladding before plastering begins. Learn what inspectors check.
All You Need to Know About Fixing Inspections
A fixing stage inspection evaluates internal components before they are concealed, including cladding, architraves, doors, and built-in shelves. Learn what to expect.
For a complete overview, see our guide to construction stage inspections.
Need Construction Stage Inspections?
Our licensed inspectors cover Sydney, Melbourne, and all major Australian cities.