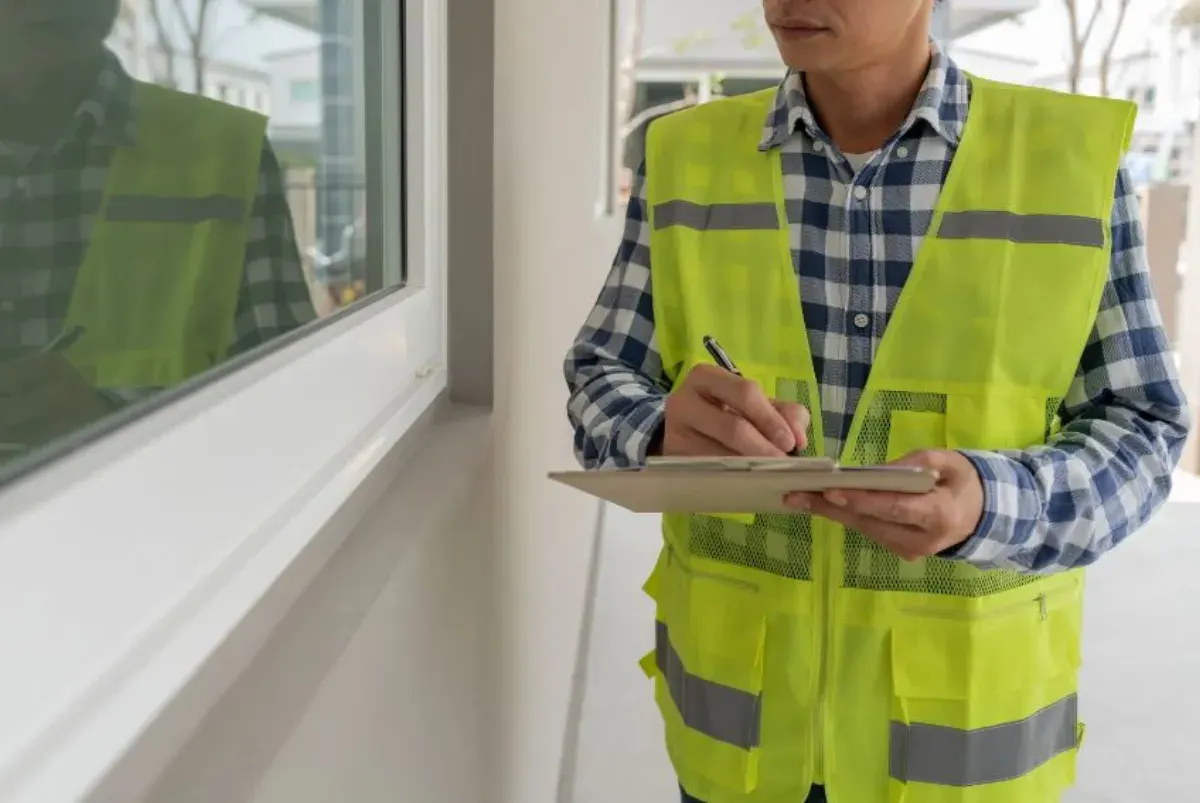
The fixing stage in new home construction is when internal finishes and fittings are installed. This includes plasterboard lining, skirting boards, architraves, doors, windows, cabinetry, tiling, and initial coats of paint. It is a critical stage because defects introduced or overlooked during fixing become much harder and more expensive to rectify once the build is complete.
A professional fixing inspection identifies issues while they can still be addressed by the builder at minimal cost. The following ten issues are the most commonly found during fixing inspections across Australian new builds.
1. Misaligned Plasterboards
Plasterboard is the most common wall and ceiling lining material in Australian residential construction. When sheets are not installed correctly, the result is uneven walls, visible joints, and a poor finish that is difficult to conceal with paint alone.
What to look for:
- Visible ridges or bumps along plasterboard joints
- Uneven surfaces when viewed under raking light
- Gaps between sheets that have not been properly filled and sanded
- Sheets that are not flush at internal and external corners
How to address it: Misaligned plasterboard joints should be re-taped, filled, and sanded to achieve a smooth, level finish. External corners should have metal or paper corner beads installed correctly. Where sheets are significantly out of alignment, removal and replacement may be necessary. The standard of finish should comply with the level specified in the contract (typically Level 4 for painted surfaces).
2. Incorrectly Installed Windows and Doors
Windows and doors that are not installed correctly create ongoing problems with operation, sealing, and security.
What to look for:
- Doors that do not close flush into the frame
- Windows that stick, rattle, or do not lock properly
- Uneven gaps between the door or window and the frame
- Missing or damaged weatherseals
- Scratched or damaged glass
How to address it: Doors that do not sit correctly in their frames may need hinge adjustment, planning, or frame shimming. Windows that stick or fail to lock may require track cleaning, roller replacement, or frame adjustment. Missing weatherseals should be installed before completion. Any damaged glass must be replaced.
3. Gaps in Skirting Boards
Skirting boards are fitted along the junction of walls and floors. Gaps between the skirting and the wall or floor are a common fixing stage defect.
What to look for:
- Visible gaps between the skirting board and the wall surface
- Gaps between skirting board sections at joins and corners
- Skirting boards that are not level or that follow an uneven floor line
- Nail holes that have not been filled
How to address it: Small gaps between skirting and walls can be filled with caulk before painting. Larger gaps indicate an uneven wall and may require the skirting to be removed and refitted with packing. Mitre joints at corners should be tight and glued. All nail holes should be filled and sanded before the final coat of paint.
4. Incomplete Tiling
Tiling defects at the fixing stage include unfinished work, poor alignment, and adhesion failures.
What to look for:
- Tiles that sound hollow when tapped, indicating poor adhesive coverage
- Uneven grout lines or missing grout
- Lippage (height differences between adjacent tiles) exceeding tolerances
- Chipped, cracked, or mismatched tiles
- Missing silicone sealant at wet area junctions
How to address it: Hollow tiles must be lifted and re-laid with proper adhesive coverage (minimum 80% for dry areas, 100% for wet areas). Grout should be completed to all joints and cleaned of excess. Lippage should be within the tolerances specified in AS 3958.1. Damaged tiles must be replaced. Silicone sealant must be applied at all junctions between tiled surfaces and fixtures.
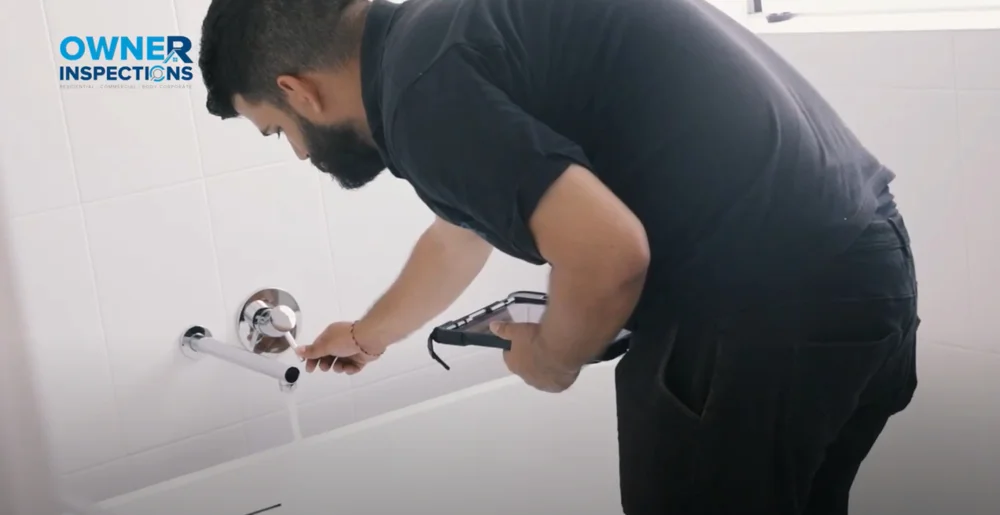
5. Electrical and Plumbing Inconsistencies
During the fixing stage, electrical fittings and plumbing fixtures are installed. Inconsistencies between the plans and the installed work are common findings.
What to look for:
- Power points, switches, or light fittings in different positions than shown on plans
- Missing power points or data outlets
- Plumbing fixtures not centred or at incorrect heights
- Taps, mixers, or outlets not matching the specified brands or models
- Incomplete connection of rangehood ducting or exhaust fans
How to address it: Compare all electrical and plumbing installations against the approved plans and specifications. Discrepancies should be raised with the builder for rectification before completion. Relocating electrical points after plasterboard is installed is more disruptive than addressing issues during the fixing stage.
6. Nail and Screw Pops
Nail and screw pops occur when fasteners used to secure plasterboard to the framing push through the surface, creating bumps or depressions in the wall or ceiling.
What to look for:
- Small bumps or circles visible on painted surfaces
- Depressions or cracks around fastener locations
- Fasteners that are visible through the paint finish
How to address it: Popped nails should be driven back in or replaced with screws. The area should then be filled, sanded, and repainted to match the surrounding surface. Screw pops can indicate that the framing timber has dried and shrunk after the plasterboard was fixed, which is a common occurrence with green (unseasoned) timber.
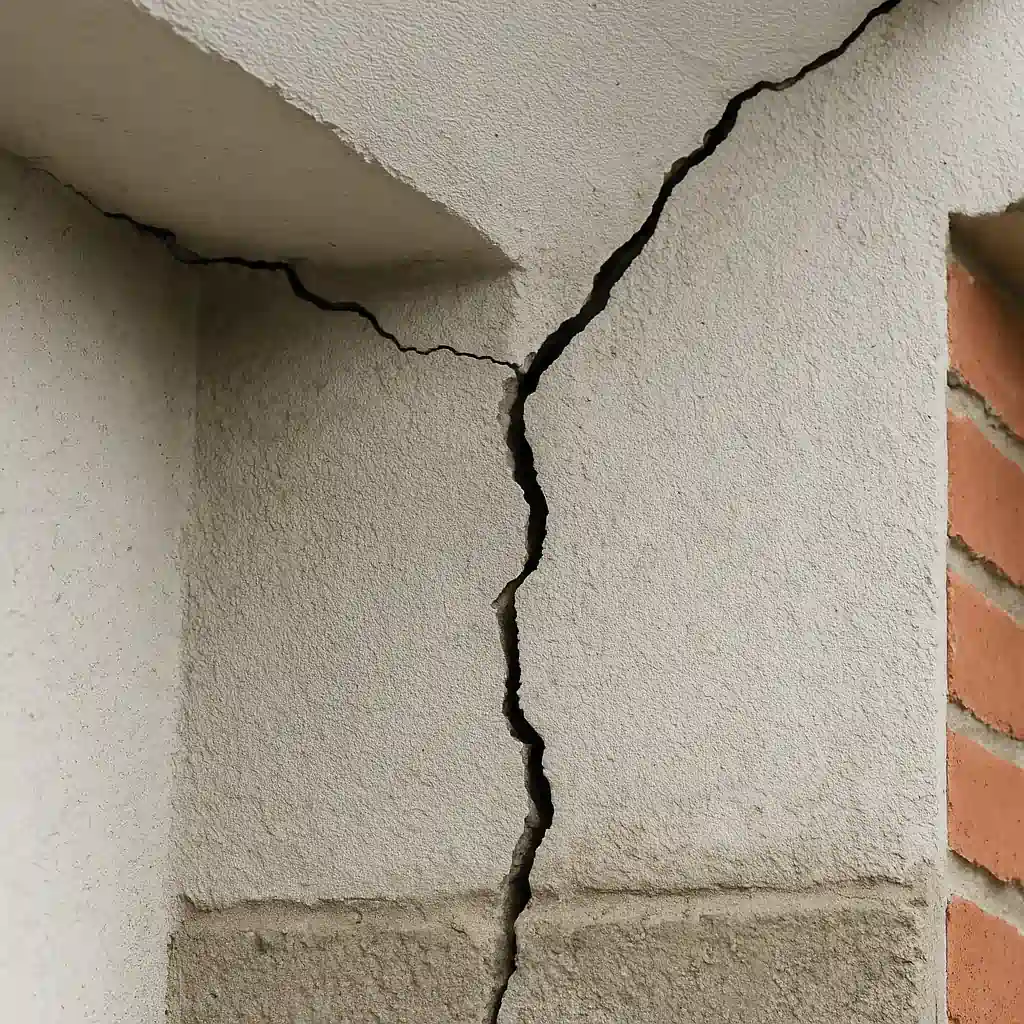
7. Cracks in Plaster and Cornices
Cracking in plasterboard joints and at the junction between walls and ceilings (cornices) is a common finding during fixing inspections.
What to look for:
- Cracks running along plasterboard joints
- Cracks at the junction of cornices and walls or ceilings
- Cracks radiating from corners of door and window openings
- Cracking in set plaster around light fittings or other penetrations
How to address it: Joint cracks indicate inadequate taping or that the joint compound was applied too thinly. The affected joints should be re-taped and re-set. Cornice cracks are often caused by timber frame movement and should be filled with a flexible compound. Cracks around openings should be assessed to determine whether they are caused by frame movement or poor installation.
8. Misaligned Fixtures
Fixtures including towel rails, toilet roll holders, cabinetry handles, and shower screens must be installed level, plumb, and securely fixed.
What to look for:
- Towel rails or accessories that are not level
- Cabinet handles that are inconsistently positioned
- Shower screens that are not plumb or have gaps at seals
- Light switch plates that are not aligned or are crooked
How to address it: Misaligned fixtures should be removed and reinstalled in the correct position. Use a spirit level during installation to confirm alignment. Ensure fixings are into solid framing or appropriate wall anchors are used. Shower screen misalignment should be corrected by the installer before silicone is applied.
9. Insufficient Caulking
Caulking (sealant) is used to seal gaps at junctions, around fixtures, and at transitions between different materials. Insufficient or poorly applied caulking is a very common fixing stage defect.
What to look for:
- Gaps at the junction of skirting boards and walls that are not caulked
- Missing caulk around window and door frames
- Caulk lines that are uneven, cracked, or have pulled away
- Missing silicone at wet area junctions (bath to wall, shower to wall)
How to address it: All junctions that require caulking should be sealed with appropriate products. Use paintable acrylic caulk for internal trim junctions and silicone sealant for wet areas. Caulk should be applied in a continuous, even bead and tooled for a neat finish. Existing poor caulking should be removed and reapplied.
10. Paint Defects
Paint is one of the final finishes applied during the fixing stage, and defects are easily spotted under good lighting.
What to look for:
- Runs, drips, or sags in the paint film
- Uneven coverage or patchy areas
- Brush marks or roller stipple in gloss or semi-gloss finishes
- Paint on surfaces where it should not be (window glass, tiles, fittings)
- Colour inconsistencies between walls or rooms
How to address it: Areas with runs, drips, or uneven coverage should be sanded back and repainted with the correct number of coats. Overspray and paint on unintended surfaces should be cleaned. Colour inconsistencies may indicate different batches of paint were used and should be corrected by repainting the affected areas with a consistent batch.
Why Fixing Inspections Matter
The fixing stage is the last opportunity to identify and rectify defects before the final inspection and handover. Issues that are missed at this stage become the homeowner's problem and are significantly more costly to fix after completion. An independent fixing inspection provides an objective assessment that protects your interests.
Frequently Asked Questions
What is a fixing inspection?
A fixing inspection is a professional assessment conducted during the fixing stage of new home construction, after internal linings, fittings, and finishes have been installed but before the final inspection and handover. It identifies defects that should be rectified by the builder before completion.
When should a fixing inspection be carried out?
A fixing inspection should be carried out after plasterboard, skirting boards, doors, windows, tiling, cabinetry, and initial paint coats have been installed, but before the builder conducts the final clean and handover. This timing allows defects to be rectified while the relevant trades are still on site.
How much does a fixing inspection cost?
Fixing inspection costs vary depending on the size and complexity of the build. For a standard residential home in Australia, expect to pay between $400 and $800. This is a small investment compared to the cost of rectifying defects after handover.
Can I do my own fixing inspection?
While homeowners can certainly walk through and check for obvious issues, a professional inspector has the training and experience to identify defects that are easily missed by the untrained eye. Professional inspectors also understand the relevant Australian Standards and tolerances that apply to each element.
What happens if defects are found during a fixing inspection?
The inspection report documents all defects with photographs and descriptions. This report is provided to the builder, who is responsible for rectifying the identified items before the final inspection and handover. Most builders address these items as part of the normal construction process.
How many defects is normal during a fixing inspection?
It is common to find between 20 and 80 items during a fixing inspection, depending on the size and quality of the build. Most items are minor and easily rectified. The important thing is to identify them before handover rather than after.
Is a fixing inspection the same as a pre-handover inspection?
No. A fixing inspection occurs during the construction process while work is still ongoing. A pre-handover (or PCI) inspection occurs after all work is complete and before the keys are handed over. Both are valuable, and conducting both provides the most comprehensive coverage.
What tools does an inspector use during a fixing inspection?
Inspectors typically use a spirit level, straight edge, moisture meter, raking light (for plasterboard assessment), tape measure, and a camera for documentation. Some inspectors also use thermal imaging cameras to check for insulation gaps behind plasterboard.
Should I attend the fixing inspection?
It is beneficial to attend the inspection as it allows you to see the defects firsthand and ask questions. However, it is not essential. The inspector will provide a comprehensive written report with photographs regardless of whether you are present.
Can a builder refuse to allow a fixing inspection?
In most Australian states, homeowners have the right to engage an independent inspector during construction. If your builder resists, refer to your building contract, which typically includes provisions for owner inspections at key stages. Refusing access to an independent inspector is a red flag.
Key Takeaways
- The fixing stage is the last practical opportunity to identify and rectify construction defects before handover
- Misaligned plasterboards, gaps in skirting, and paint defects are the most frequently found issues
- Hollow tiles indicate poor adhesive coverage and must be re-laid before grouting and sealing
- Electrical and plumbing installations should be checked against the approved plans and specifications
- Nail and screw pops are common in new builds and are easily rectified during the fixing stage
- Insufficient caulking is widespread and affects both the appearance and weatherproofing of the home
- An independent fixing inspection typically costs $400 to $800 and can save thousands in post-handover rectification
References and Resources
Related Articles
Fixing Inspections: A Complete Guide
A fixing stage inspection evaluates internal components before they are concealed, including cladding, architraves, doors, and built-in shelves. Learn what to expect.
Common Frame Defects and How to Address Them
A home's framing system serves as its structural skeleton. This guide covers common frame defects in Australian homes, their causes, and how to identify and address them during construction inspections.
Structural Defects in New Builds: Warning Signs
Nearly 70% of newly built Australian homes show major defects. Learn the eight key warning signs of structural issues and how to protect your investment.
Building a New Home?
Our licensed inspectors conduct independent fixing inspections to ensure your new home meets the expected standard. Catch defects before handover.
For a complete overview, see our guide to construction stage inspections.
Need Construction Stage Inspections?
Our licensed inspectors cover Sydney, Melbourne, and all major Australian cities.
If defects persist after construction is complete, a formal investigation may be needed. See our guide to building defect investigations.