A pre-settlement inspection is the final review of a property before the sale is completed and ownership is transferred. It is your last chance to confirm that the property is in the condition you agreed to when you signed the contract. Whether you are buying an established home, a new build, or an off-the-plan apartment, this inspection is a critical step that should never be skipped.
Many buyers treat the pre-settlement inspection as a formality, but it is far more than a quick walkthrough. Damage can occur between contract exchange and settlement. Builders may leave defects unresolved. Inclusions listed in the contract may be missing or damaged. Identifying these issues before settlement gives you the legal leverage to have them addressed. After settlement, your options become significantly more limited.
This guide covers everything you need to know about pre-settlement inspections, including what to check, who should conduct it, a detailed checklist, and how to handle any problems you discover.
What Is a Pre-Settlement Inspection?
A pre-settlement inspection, also referred to as a final inspection or handover inspection, is a walkthrough of the property conducted shortly before the settlement date. The purpose is to verify that the property remains in the same condition as when the contract was signed, or in the case of new builds, that the construction has been completed to the agreed standard.
This inspection is not the same as a pre-purchase building inspection. A pre-purchase inspection is a detailed technical assessment conducted before you sign the contract, designed to identify major defects and inform your buying decision. A pre-settlement inspection occurs after you have committed to the purchase and focuses on confirming that the property condition has not changed and that all contractual obligations have been met.
A pre-settlement inspection is your contractual right in most Australian states. In Victoria, NSW, and Queensland, standard contracts typically include provisions allowing the buyer to inspect the property before settlement. Do not let anyone discourage you from exercising this right.
What to Check: Structural Elements
The structural components of a property are the most important elements to assess during a pre-settlement inspection. While a detailed structural assessment requires a qualified building inspector, you should look for obvious signs of problems.
- Walls: check for new cracks, water staining, or damage that was not present at the time of contract
- Ceilings: look for sagging, water marks, cracks, or evidence of leaks
- Floors: walk every room and check for unevenness, squeaking, damaged tiles, or lifting floorboards
- Roof: visually inspect from ground level for missing or damaged tiles, sagging ridgelines, or blocked gutters
- Foundation: check for new cracking in external walls, particularly stepped cracks in brickwork
- Windows and doors: open and close every window and door to check for proper operation
- Balconies and decks: check for structural integrity, adequate balustrade height, and drainage
For new builds, structural defects may include uneven concrete slabs, poorly aligned walls, inadequate waterproofing membranes, or framing defects that are visible before internal linings are completed. These should be documented and raised with the builder before settlement.
What to Check: Utilities and Systems
All utilities and systems should be tested during the pre-settlement inspection to confirm they are operational and in the condition expected under the contract.
Electrical
- Test every light switch and power point in the property
- Check that the switchboard is properly labelled and all safety switches function correctly
- Test smoke alarms by pressing the test button on each unit
- Verify that exhaust fans in bathrooms, laundry, and kitchen are working
- Check that any outdoor lighting is operational
Plumbing
- Turn on every tap (hot and cold) and check for adequate water pressure and flow
- Flush every toilet and check for leaks around the base and cistern
- Run showers and check for consistent water temperature and proper drainage
- Check under all sinks for signs of leaking
- Verify the hot water system is working and delivering hot water to all outlets
- Check that all external taps are functional
Heating and Cooling
- Test the air conditioning system in both heating and cooling modes
- Check that all split systems or ducted outlets are operational in every room
- Test any gas heating appliances
- Verify that ceiling fans are working if included in the contract
Gas
- Check that the gas cooktop and oven ignite properly
- Verify that gas hot water or gas heating systems operate correctly
- Smell for any gas odours near gas appliances and connections
What to Check: Finishes and Fixtures
Finishes and fixtures are often where the most visible issues are found during pre-settlement inspections. Pay close attention to the quality of workmanship and whether everything matches what was specified in the contract.
- Paintwork: check for uneven coverage, drips, missed areas, and colour consistency
- Tiling: inspect for cracked, chipped, or poorly aligned tiles and consistent grouting
- Benchtops: check for chips, scratches, or damage to kitchen and bathroom benchtops
- Cabinetry: open and close all cupboards and drawers to check alignment and hardware
- Flooring: inspect carpet, timber, vinyl, or tile flooring for damage or poor installation
- Splashbacks: check for chips, cracks, or poorly sealed edges
- Tapware and hardware: verify that all handles, knobs, towel rails, and accessories are secure
- Mirrors and glass: check for scratches, chips, or improper installation
- Window furnishings: test blinds, curtains, or shutters if included in the contract
For new builds, also check that the specified materials and finishes match what was agreed in the contract. Builders sometimes substitute materials, and if the substitution was not approved, you are within your rights to request the agreed product be installed.
Who Should Conduct the Inspection?
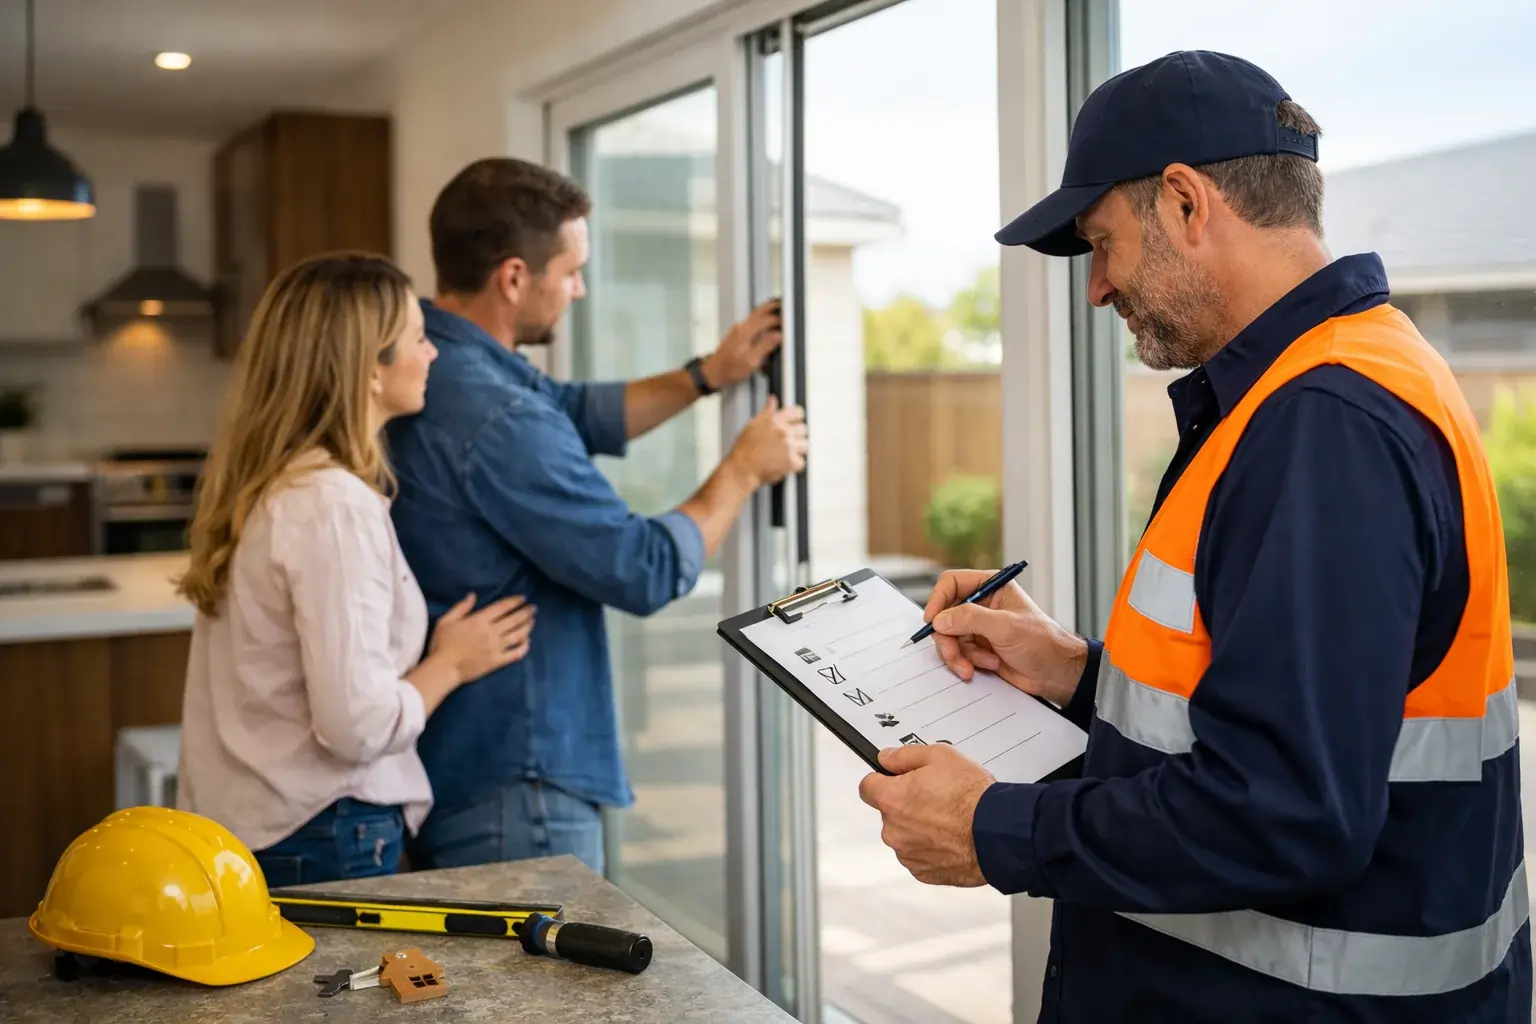
While any buyer can conduct a pre-settlement inspection themselves, engaging a qualified building inspector provides a significantly more thorough assessment. A professional inspector has the training and experience to identify issues that an untrained eye would miss.
Qualifications to Look For
The inspector you engage should hold appropriate credentials for the state in which the property is located:
| State | Licensing Body | What to Verify |
|---|---|---|
| Victoria | Victorian Building Authority (VBA) | Registered building practitioner with inspection experience |
| New South Wales | NSW Fair Trading | Licensed building inspector or appropriately qualified building professional |
| Queensland | Queensland Building and Construction Commission (QBCC) | Licensed building inspector with current QBCC licence |
In addition to state licensing, look for inspectors who have specific experience with pre-settlement inspections. This is a distinct type of inspection that requires knowledge of contractual obligations, building standards, and the settlement process.
A professional pre-settlement inspection typically costs between $300 and $800 depending on the size and type of property. This is a modest investment compared to the cost of rectifying defects after settlement, when your negotiating leverage is significantly reduced.
Comprehensive Pre-Settlement Checklist
The following checklist covers 15 key categories for a thorough pre-settlement inspection. Use it as a guide whether you are conducting the inspection yourself or working alongside a professional inspector.
External Structure
Inspect the roof, gutters, downpipes, fascia, external walls, and foundations for damage, cracking, or deterioration since the contract date.
Internal Structure
Check walls, ceilings, floors, and internal supports for cracks, water damage, unevenness, or other defects.
Doors and Windows
Open and close every door and window. Check locks, handles, seals, and screens for proper operation and condition.
Electrical Systems
Test all power points, light switches, safety switches, smoke alarms, and exhaust fans throughout the property.
Plumbing and Drainage
Run all taps, flush toilets, test showers, and check under sinks for leaks. Verify hot water delivery and drainage.
Kitchen
Test all appliances included in the contract. Check benchtops, cabinetry, splashbacks, tapware, and rangehood operation.
Bathrooms and Laundry
Inspect waterproofing, tiling, tapware, mirrors, vanities, shower screens, and drainage in all wet areas.
Heating and Cooling
Test all heating and cooling systems in every mode. Verify operation of all outlets, vents, or split system units.
Paintwork and Finishes
Inspect all painted surfaces for quality, consistency, and damage. Check for touch-ups that do not match.
Flooring
Walk every room and check all flooring types for damage, poor installation, squeaking, or unevenness.
Storage and Built-Ins
Open all built-in wardrobes, linen cupboards, and storage areas. Check shelving, hanging rails, doors, and drawers.
Garage and Carport
Test the garage door mechanism, check for damage, verify lighting, and inspect the floor for cracking or staining.
Outdoor Areas
Inspect fencing, gates, driveways, paths, landscaping, decking, and any outdoor structures included in the contract.
Inclusions and Exclusions
Verify that all items listed as inclusions in the contract are present and in working order. Confirm that any excluded items have been removed.
Cleanliness and Presentation
The property should be left in a clean and reasonably tidy condition. For new builds, all construction debris should be removed and a builder's clean completed.
Timing Your Pre-Settlement Inspection
Getting the timing right for your pre-settlement inspection is important. Schedule too early and new issues could arise before settlement. Schedule too late and you may not have time to address problems.
| Property Type | Recommended Timing | Duration |
|---|---|---|
| Established homes | 5 to 7 days before settlement | 1 to 2 hours |
| New builds | 7 to 14 days before settlement | 2 to 3 hours |
| Off-the-plan apartments | 7 to 14 days before settlement | 1 to 2 hours |
For established homes, scheduling about one week before settlement gives you enough time to raise any issues with the vendor's solicitor and negotiate a resolution before the settlement date. For new builds, allow a longer lead time because the builder may need time to rectify any defects identified during the inspection.
The inspection itself typically takes between one and three hours, depending on the size of the property and the number of issues found. Do not rush the process. A thorough inspection is far more valuable than a quick walkthrough.
What to Do If You Find Problems
Discovering issues during a pre-settlement inspection does not necessarily mean you should delay or cancel the settlement. The appropriate course of action depends on the nature and severity of the problems.
Document Everything
Photograph and record every issue you identify, including its location and a description of the problem. If you have a professional inspector, their report will serve as your primary documentation.
Notify Your Solicitor or Conveyancer
Contact your solicitor or conveyancer immediately and provide them with the inspection findings. They will advise you on your contractual rights and the best course of action.
Negotiate Before Settlement
Depending on the severity of the issues, your solicitor may negotiate with the vendor to have the problems rectified before settlement, reduce the purchase price, or hold funds in trust until the work is completed.
Consider Delaying Settlement
For significant issues, particularly structural defects or major non-compliance with the contract, your solicitor may advise delaying settlement until the problems are resolved. This is a serious step and should only be taken on legal advice.
Minor cosmetic issues such as small paint marks or minor scuff marks are generally not grounds for delaying settlement. Focus on significant defects, missing inclusions, property damage, and systems that are not working as they should. Your solicitor can help you determine what is considered a material breach of contract.
Frequently Asked Questions
What is a pre-settlement inspection?
A pre-settlement inspection is a final walkthrough of a property conducted shortly before the settlement date. Its purpose is to confirm that the property is in the same condition as when the contract was signed, that all inclusions are present, and that any agreed repairs have been completed.
Is a pre-settlement inspection mandatory in Australia?
It is not mandatory by law, but most standard contracts of sale in Victoria, NSW, and Queensland include a clause allowing the buyer to conduct a pre-settlement inspection. It is strongly recommended that you exercise this right for every property purchase.
What is the difference between a pre-purchase and a pre-settlement inspection?
A pre-purchase inspection is a detailed technical assessment conducted before you sign the contract, designed to identify major defects and inform your buying decision. A pre-settlement inspection occurs after the contract is signed and focuses on confirming that the property condition has not changed and that contractual obligations have been met.
Should I hire a professional inspector for a pre-settlement inspection?
While you can conduct a pre-settlement inspection yourself, hiring a qualified building inspector is recommended, particularly for new builds and off-the-plan apartments. A professional inspector has the training and experience to identify issues that an untrained eye would miss, and their written report provides formal documentation.
How much does a professional pre-settlement inspection cost?
A professional pre-settlement inspection typically costs between $300 and $800 in Australia, depending on the property size, type, and location. This is a worthwhile investment considering the potential cost of rectifying defects after settlement when your negotiating position is weaker.
When should I schedule my pre-settlement inspection?
For established homes, schedule the inspection approximately five to seven days before settlement. For new builds and off-the-plan apartments, allow seven to fourteen days before settlement to give the builder time to rectify any defects identified during the inspection.
What should I do if I find defects during the pre-settlement inspection?
Document everything with photographs and detailed notes, then contact your solicitor or conveyancer immediately. They will advise you on your options, which may include requesting the vendor to rectify the issues before settlement, negotiating a price reduction, or holding funds in trust.
Can I delay settlement if I find serious problems?
In some circumstances, yes. If the issues constitute a material breach of the contract, your solicitor may advise delaying settlement until the problems are resolved. However, delaying settlement without proper legal grounds can put you in breach of contract, so always seek legal advice before taking this step.
What areas should I check during a pre-settlement inspection?
You should check the external structure, internal structure, doors and windows, electrical systems, plumbing and drainage, kitchen, bathrooms and laundry, heating and cooling, paintwork and finishes, flooring, storage areas, garage, outdoor areas, inclusions and exclusions, and overall cleanliness. A comprehensive checklist covering all 15 categories is provided in this article.
Do I need to check appliances during a pre-settlement inspection?
Yes. If appliances are listed as inclusions in the contract of sale, you should test every one of them during the inspection. This includes the oven, cooktop, dishwasher, rangehood, air conditioning units, and any other appliances specified in the contract. Verify that they are the correct make and model if specified.
Key Takeaways
- A pre-settlement inspection is your final opportunity to verify that the property meets contractual requirements before you complete the purchase
- Check structural elements, utilities and systems, and finishes and fixtures thoroughly during the inspection
- Engage a qualified building inspector with appropriate state credentials from the VBA, NSW Fair Trading, or QBCC
- Use a comprehensive checklist covering all 15 categories to ensure nothing is missed
- Schedule the inspection about one week before settlement for established homes and one to two weeks for new builds
- The inspection typically takes one to three hours depending on the property size and type
- Document any issues with photographs and detailed notes, and contact your solicitor immediately if problems are found
- Minor cosmetic issues are generally not grounds for delaying settlement, but significant defects or missing inclusions should be addressed before completion
References and Resources
Related Articles
What to Expect in a Pre-Settlement Inspection
Your final walkthrough before settlement is crucial. Learn what to check, your legal rights, and when to call in professional help.

Pre-Settlement Disputes and Resolution
Discover how to handle disputes that arise during the pre-settlement inspection process, including negotiation strategies and legal options.
Builder Obligations in Pre-Settlement Inspections
Understand what builders are required to deliver before settlement, their obligations under Australian law, and how to hold them accountable.
Need a Professional Pre-Settlement Inspection?
Our licensed building inspectors conduct thorough pre-settlement inspections across NSW, Victoria, and Queensland. We help you identify defects and protect your investment before you complete the purchase.