Is the floor meant to look like that, or is something wrong?
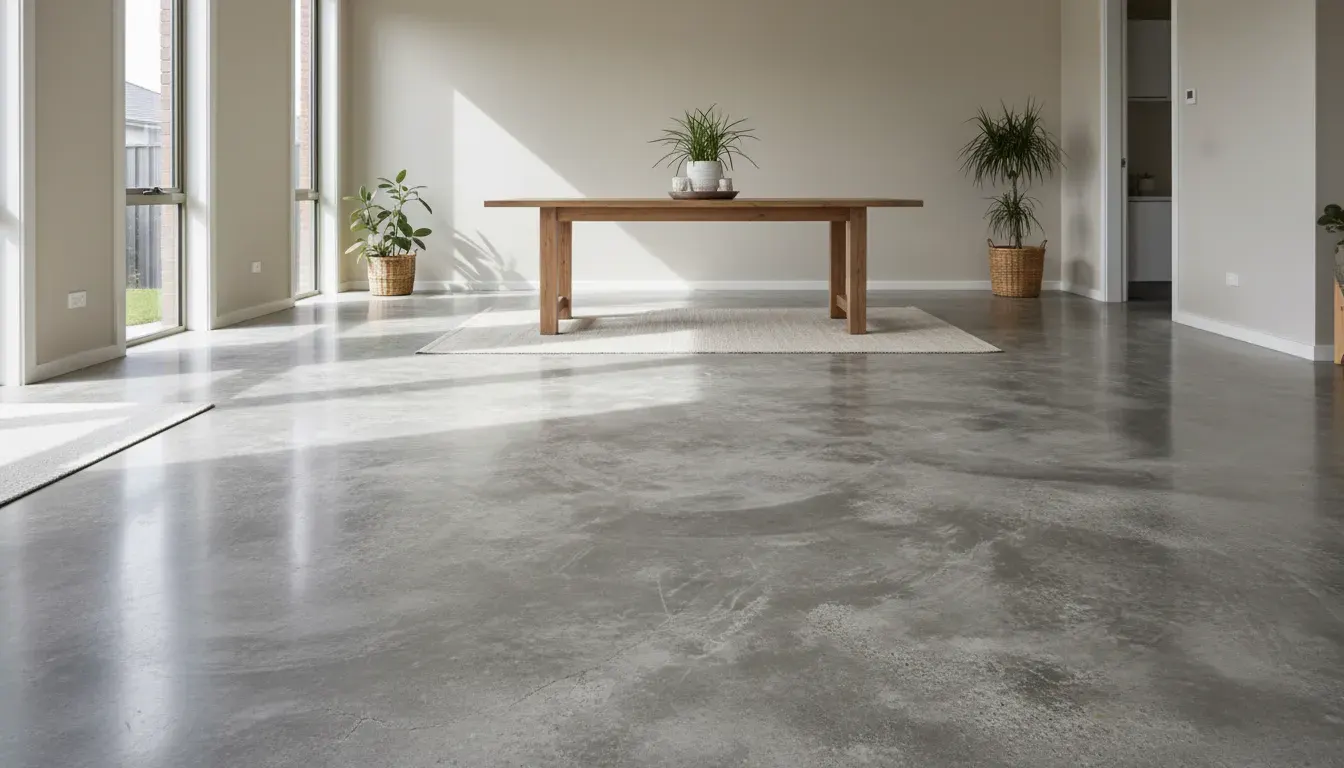
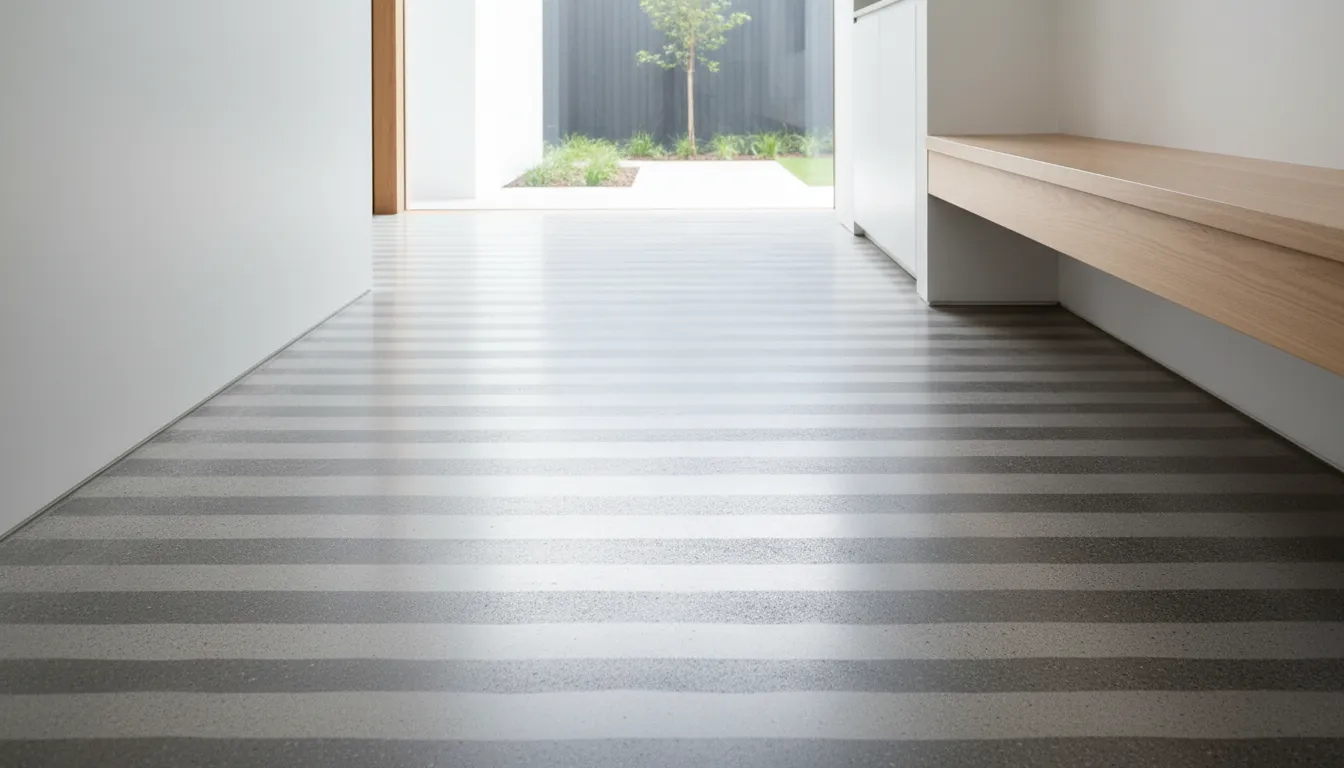
Polished concrete floors can look sharp and modern, but they can also show every shortcut. When the finish is poor, it usually looks patchy, distracting, or plastic in places. Sometimes it can also be a warning sign that moisture is moving through the slab, which can keep causing haze, white salts, and sealer failure.
These are the most common red flags that suggest workmanship issues or finish failure:
- Patchy sheen in one room (glossy areas next to dull areas, even after cleaning)
- Swirl arcs, trowel circles, or straight screed lines that jump out under sunlight or downlights
- Cloudy or milky haze that looks like a film sitting on the surface
- Random leopard spot aggregate exposure that looks accidental
- Directional stripes or grinder waves that repeat across a hallway
- Stains sealed in (rust spots, paint overspray, adhesive shadows)
- White salt deposits (efflorescence), often near control joints or external walls
- Sealer peeling, flaking, bubbling, or whitening
- Trip edges at joints, spalling at joint edges, or repairs that sit proud
- Slippery wet zones at entries, ramps, or stairs
When it’s urgent:
Treat it as urgent if you see moisture indicators (recurring efflorescence, widespread whitening, persistent haze near edges) or safety hazards (slip and trip risks). Moisture-driven problems often keep returning until the cause is fixed, and safety hazards can create immediate risk.
Buying a home with polished concrete floors?
If the finish looks patchy, cloudy, or marked, a pre-purchase inspection can document what you’re seeing and flag moisture or safety risks before you commit.
Pre-Purchase Inspection
Normal Variation vs Poor Workmanship
Concrete varies, even when it’s done well. The goal is to judge the floor the way it’s meant to be seen, not under harsh defect hunting conditions.
Normal viewing position
Queensland’s Standards and Tolerances Guide says variations in surface colour, texture, and finish should be viewed where possible from a normal viewing position. It defines this as looking from a distance of 1.5 m or greater with the surface illuminated by “non-critical light” (diffused light, not glancing light).
That matters because polished concrete is very sensitive to raking light. Low-angle sunlight or a strong downlight can make normal texture look dramatic.
What usually counts as normal variation
- Subtle mottling or tonal changes that are visible up close but not distracting from 1.5 m
- Fine “pepper” variation in a salt and pepper finish
- Minor differences that change with light direction and are not in a repeating pattern
What usually points to workmanship or system issues
- Repeating patterns such as arcs, circles, parallel stripes, tramlines, or waves
- Coating-like haze that looks like a film and is worse in some areas
- Peeling, whitening, or blistering of a sealer
- White salts that return after cleaning, especially near edges, joints, and external walls
Light effect or physical defect?
- If it changes when you move and fades under diffused light, it may be light and texture.
- If it stays in the same shape and location in most lighting, it’s more likely a physical defect
The Most Common Bad Finish Patterns
1. Swirl, trowel, helicopter, and screed marks
What you’ll see
Arcs, tight circles, or straight lines that become obvious in sunlight or downlights, especially on light or salt and pepper finishes.
Likely causes
Light or nil exposure finishes remove very little concrete. That means slab finishing marks can remain visible. If the slab was not finished evenly, the polishing process can reveal those marks rather than remove them.
How serious
Often cosmetic. It becomes a bigger issue when the marks are obvious from normal viewing distance, or when the agreed expectation was a consistent, even finish.
What to do next
- Confirm what exposure level was specified (nil/light vs random vs full).
- Ask whether fixing requires deeper grinding that changes the look by exposing more aggregate.
- If buying, photograph the marks under daylight and downlights for negotiation.
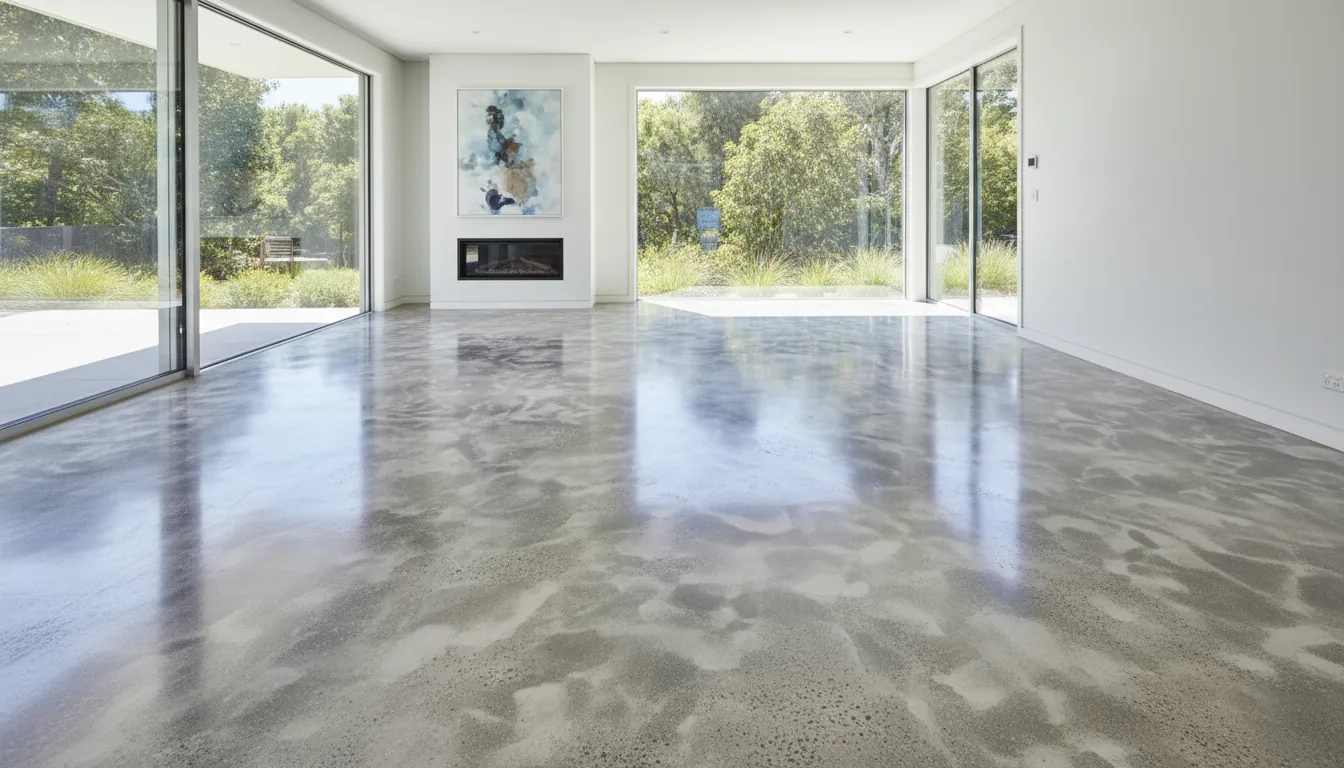
2. Patchy gloss, cloudy haze, plastic-looking shine
What you’ll see
A room where parts of the floor look glossy and other parts look dull, or a milky haze that sits on top and won’t clean off. Some areas can look like a coating rather than polished concrete.
Likely causes
Often sealer-related: uneven application, contamination, poor prep, or moisture affecting the coating. Patchiness can also appear when different parts of the slab respond differently to the same process.
How serious
Cosmetic if it’s stable and not failing. Functional if it’s whitening, peeling, or changing over time, because it can keep failing and become stain-prone.
What to do next
- Note where it’s worst: wet zones, near external doors, at slab edges, and along control joints.
- Ask what sealer/densifier system was used and when it was applied.
- If there are moisture signs, avoid a simple reseal and consider moisture checks first.
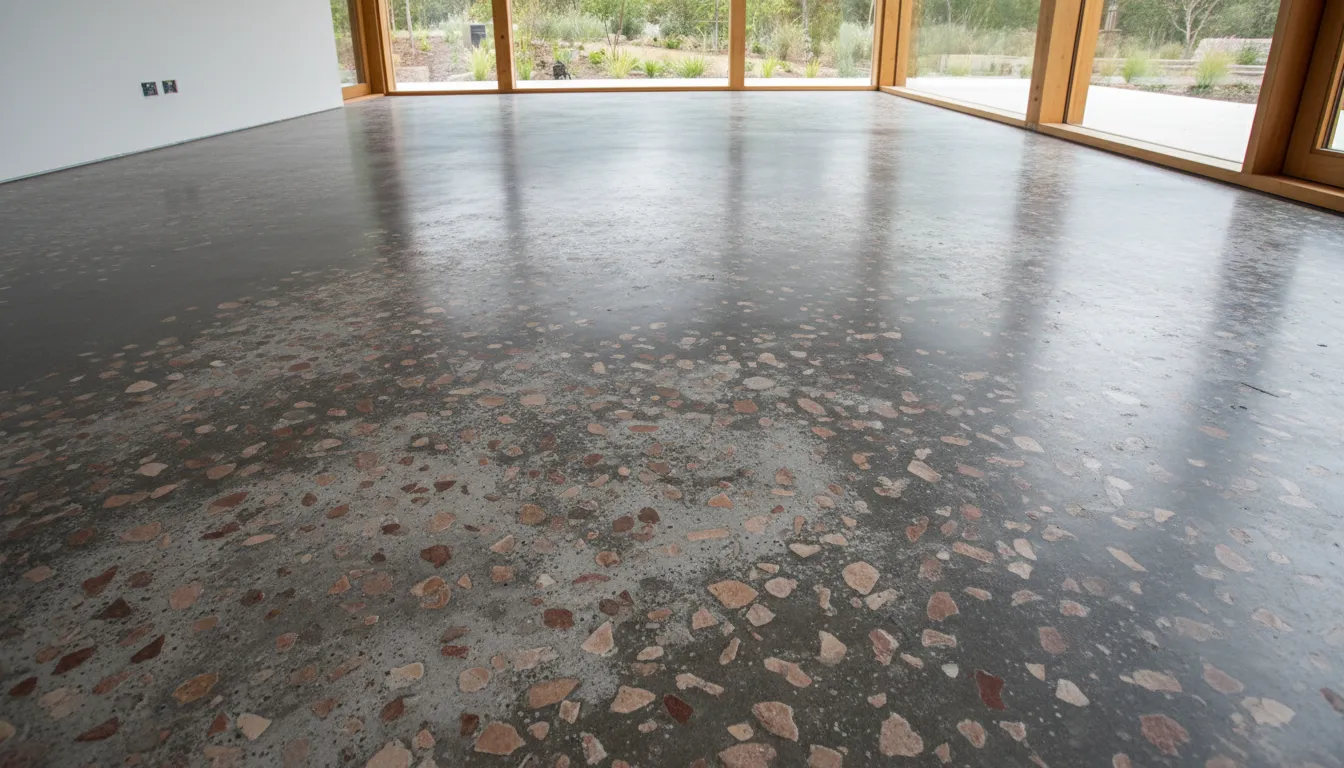
3. Random unexpected aggregate exposure (leopard spotting)
What you’ll see
Spotted patches of exposed stone beside smoother paste, often irregular and scattered.
Likely causes
Local over-grinding to flatten high spots or chase marks can expose aggregate unevenly. Light exposure finishes are especially sensitive because a little extra grinding changes the look.
How serious
Usually cosmetic, but can be a specification problem if the intended look was minimal aggregate exposure.
What to do next
- Compare the floor to any sample panel or contract description.
- Decide whether you can live with the look, because fixing often means committing to a higher exposure finish.
4. Grinder waves, burn marks, and directional stripes
What you’ll see
Repeating stripes or waves that run in the same direction. Hallways show this clearly because the eye follows the length of the space.
Likely causes
Machine tracking, inconsistent tooling sequence, rushed passes, or heat and pressure variation.
How serious
Usually cosmetic, but often expensive to correct because it may require re-honing and polishing larger areas to blend.
What to do next
- Document which rooms show the pattern and the stripe direction.
- Ask what method was used (grind and seal vs honed vs mechanically polished) and what grit sequence was followed.
5. Stains locked under the finish
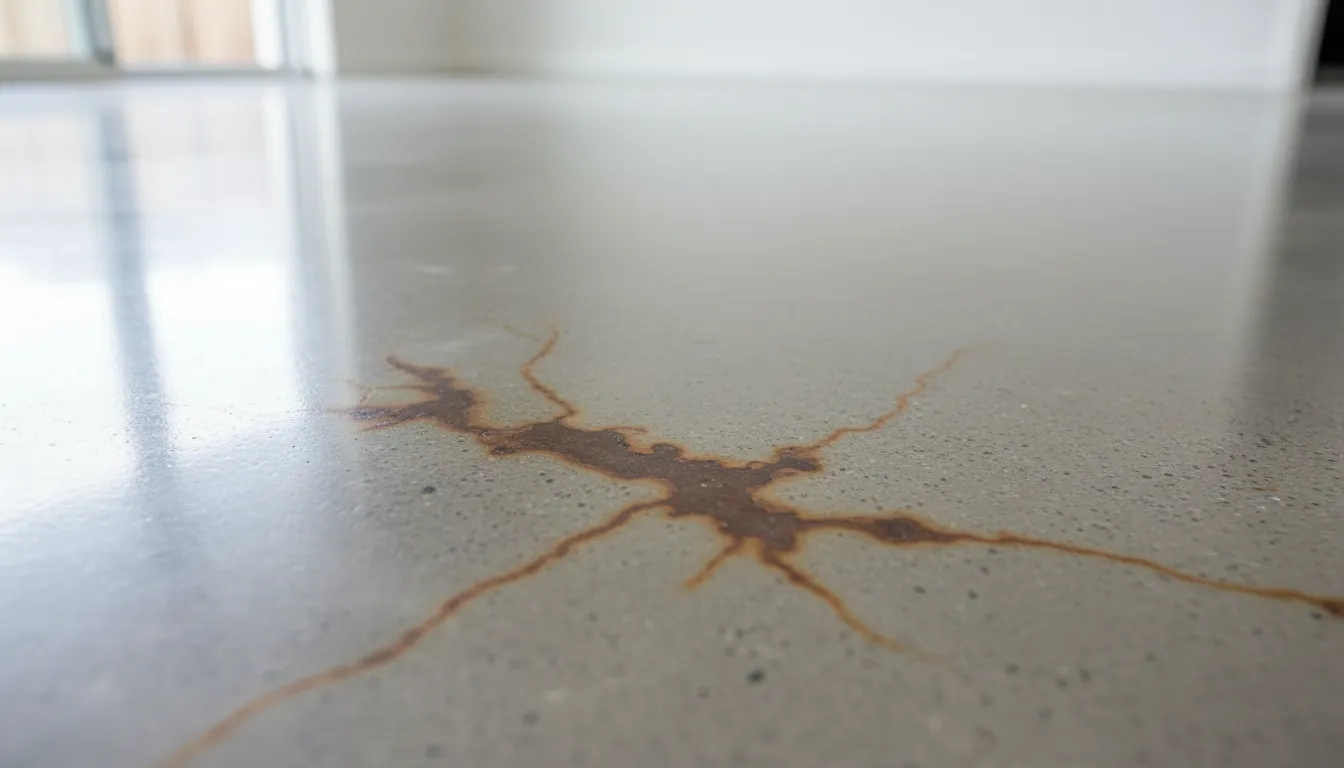
What you’ll see
Rust spots, paint overspray, adhesive shadows, tyre marks, or dark blotches that do not lift with normal cleaning.
Likely causes
Construction contamination sealed in, metal fragments rusting, or spills not removed before sealing.
How serious
Often cosmetic, but stains sealed under the finish can be hard to reduce without stripping and refinishing.
What to do next
- Photograph stains clearly and note locations.
- Ask whether stain treatment was attempted before sealing.
- Use repair quotes to support negotiation or rectification requests.
6. Efflorescence (white salts) and dampness indicators
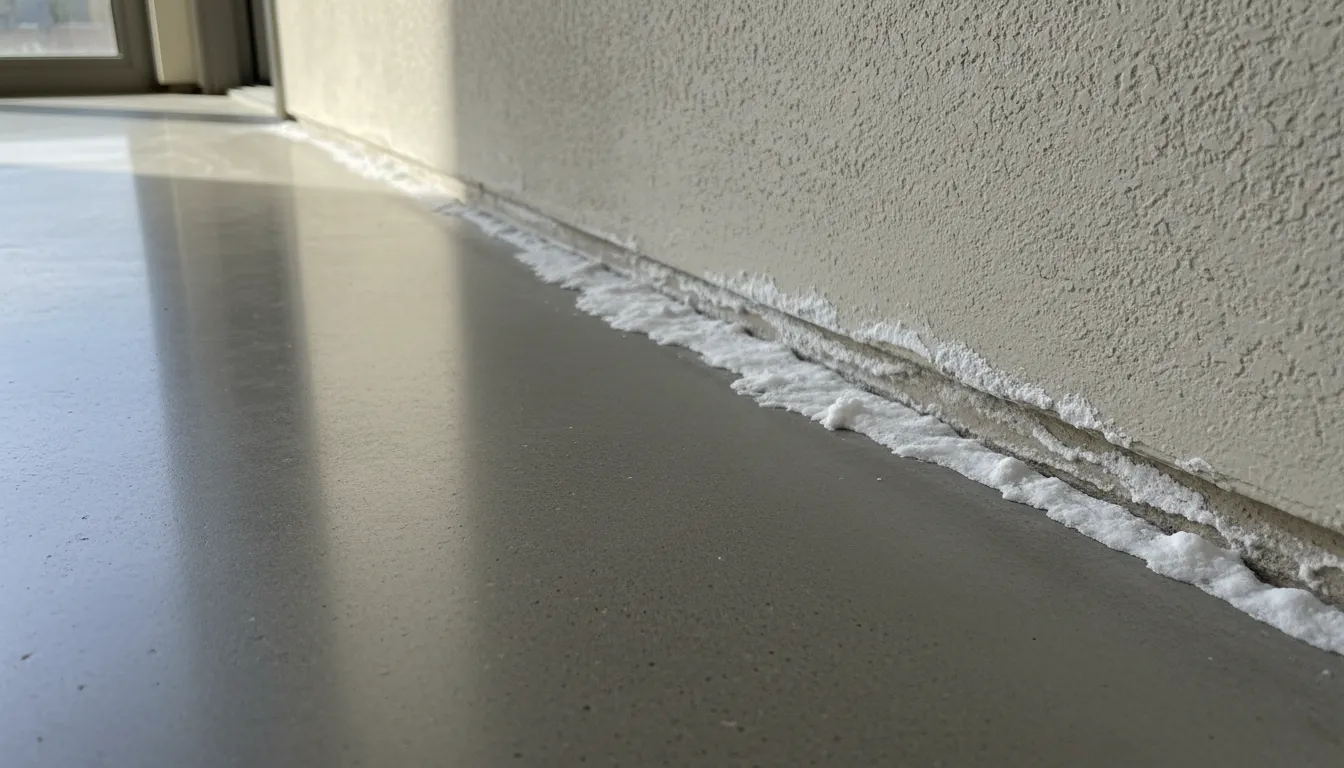
What you’ll see
White powdery deposits, crusty patches, or a white haze that returns after wiping. Often near control joints, external wall lines, and slab edges.
Likely causes
Moisture moving through concrete can dissolve salts and deposit them as it evaporates. This is often linked to moisture pathways, drainage, or slab edge conditions rather than just “a dirty floor”.
How serious
Higher risk than most cosmetic issues because it can indicate ongoing moisture movement. If moisture stays active, sealers can keep whitening or failing, and salts can keep returning.
What to do next
- Check drainage, downpipes, and ground falls near that wall line.
- Avoid sealing over active efflorescence without addressing the moisture pathway.
- Consider moisture investigation where repairs are planned.
7. Cracks, spalling, and control joint problems
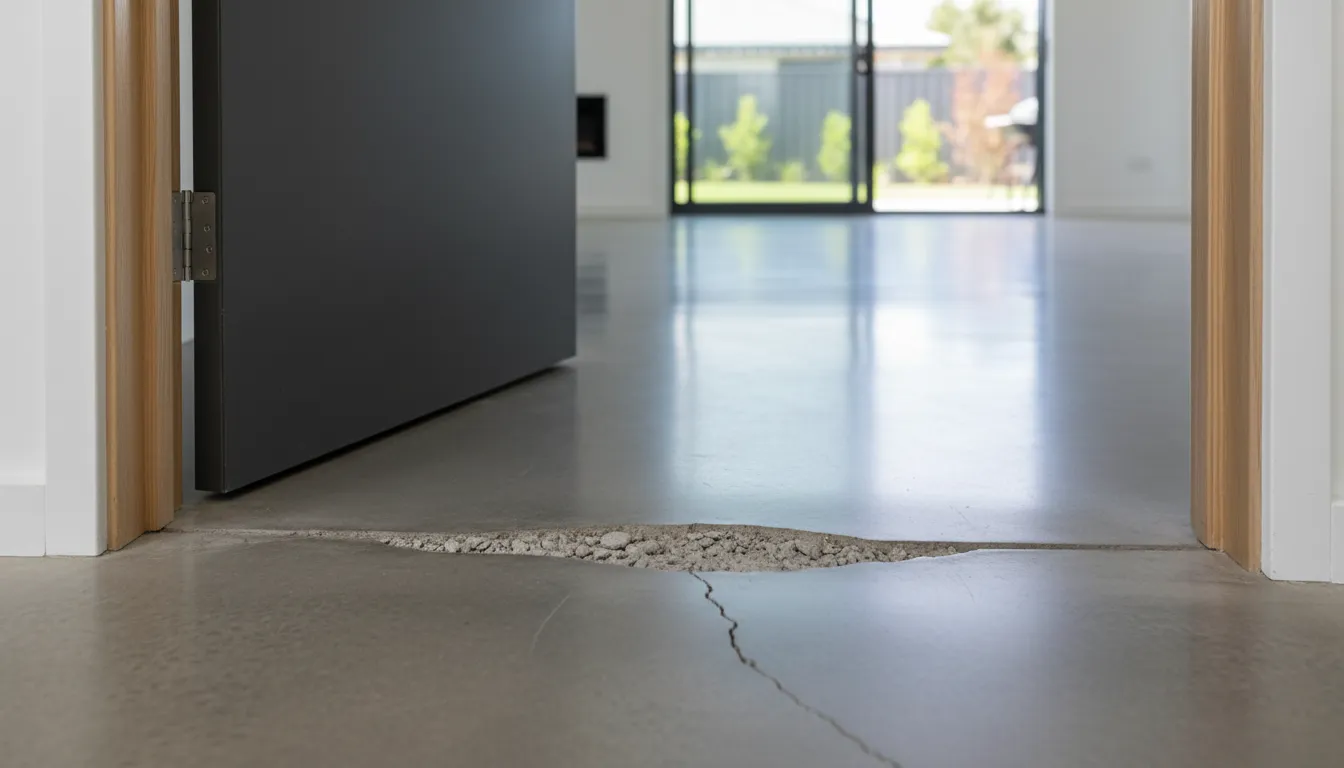
What you’ll see
Cracks crossing a doorway, joint edges chipping away (spalling), or lipping that catches a shoe.
Likely causes
Shrinkage, restraint, local moisture changes, movement, or joint detailing issues. Cracks can be harmless hairlines or signs of movement, depending on pattern and behaviour.
How serious
Varies. Spalling and lipping are safety issues even when the crack itself is minor.
What to do next
- Map cracks room by room and note any height difference across the crack.
- Treat trip edges at joints as a priority.
- If buying, get independent assessment rather than guessing causes.
8. Slip risk zones (wet entries, ramps, stairs)

What you’ll see
A glossy surface that looks slick when wet, puddling near entries, or a ramp that feels unsafe in rain.
Why it matters
Slip risk can be a safety issue in daily use, and certain settings have slip-resistance expectations for ramps and stairs.
What to do next
- Treat slippery ramps and stair zones as a safety item, not just a style issue.
- Document where water pools and where it feels slick underfoot.
- Consider practical treatments or product changes in wet zones.
Need proof it’s poor workmanship, not ‘normal variation’?
A defect investigation report can map issues room by room, explain likely causes in plain English, and give you clear photos for rectification or negotiation.
Investigation Report
Why It Happens: Root Causes
Concrete placement and finishing workmanship
Light exposure floors rely heavily on a clean, even slab finish. If the slab was overworked, trowel marks can remain and become obvious once polished.
Mix, curing, and drying
Concrete drying is not instant. If a sealer is applied before the slab has dried enough for the conditions, haze, whitening, and failure risk increases.
Moisture in the slab
Moisture can enter from outside due to drainage issues, ground levels, or slab edge conditions. When moisture keeps moving, salts and sealer failures can keep returning.
Sealer and densifier choice and application
Different systems behave differently. A topical sealer can show patchiness and may need rework if applied unevenly or under poor conditions.
Contamination and poor protection
Plaster, paint mist, mud, rusting fragments, adhesives, and foot traffic can mark a slab. Once those marks are sealed in, they can be difficult to remove without refinishing.
Is It a Defect, or Just Ugly?
Start by separating cosmetic from functional, safety, and structural indicators. This helps buyers decide what to negotiate, and helps owners decide what is worth fixing. Use this framework to decide whether to live with it, negotiate, or push for rectification.
| Severity category | What it means | Examples | Next step |
|---|---|---|---|
| Cosmetic only | Looks off, but doesn’t affect performance. | Mild mottling, subtle trowel character only visible in harsh light. | Decide if you can live with it. Document for negotiation if buying. |
| Functional | Affects durability, cleaning, or stain resistance. | Cloudy haze, patchy sealer, surface that scratches easily, stain-prone areas. | Work out if it’s coating related or moisture related before paying for rework. |
| Safety | Slip or trip risk. | Lipped joints, spalled edges, slippery wet entry or ramp zones. | Treat as priority and document clearly. |
| Structural or moisture indicators | Suggests a bigger driver behind the finish issues. | Recurring efflorescence, damp edges, crack behaviour that suggests movement. | Investigate drainage and moisture pathways and consider specialist testing where needed. |
Finish Types Comparison and Typical Australian Cost Ranges
Use this to sanity-check what was specified and whether the outcome matches the method.
| Finish type | How it’s typically achieved | Pros | Cons | Indicative AU cost per m² |
|---|---|---|---|---|
| Grind and seal | Grind surface, then apply a non-penetrating sealer | Lower upfront cost, fast | Can need reseal over time, sealer can show patchiness | Around $50 per m² average, sometimes under $25 to $100+ depending on scope |
| Honed concrete | Similar grind, with a penetrating sealer | More natural look, longer-lasting than basic sealers | Still sensitive to moisture and prep | Around $75 per m² |
| Mechanically polished | Multi-step grinding, densifier, polishing to gloss | High durability, long life | Higher upfront cost, needs skilled process | $100+ per m² |
Cost note
Prices vary by region, access, repairs, and the condition of the slab. Use them as negotiation context, not a quote.
Fix Options
Many fixes change the look. The goal is to choose the least invasive option that solves the real problem.
| Fix option | Best for | Outcome / watch-outs |
|---|---|---|
| Clean and burnish | Surface grime, light scuffs, minor dulling | Improves clarity and sheen, but won’t remove embedded marks. |
| Localised stain treatment | Surface staining that isn’t sealed in | Can reduce contrast; rarely makes stains disappear completely. |
| Strip and reseal | Sealer haze, patchiness, early peeling, wrong gloss level | If moisture is driving the failure, resealing without fixing moisture often repeats the problem. |
| Hone and repolish | Grinder patterning, patchy gloss from inconsistent finishing | More uniform look, but may increase aggregate exposure in high spots. |
| Regrind to a higher exposure level | Heavy trowel marks and slab flaws that can’t be removed lightly | Changes the design intent; deeper grinding can expose more aggregate and may require restarting the process. |
| Overlay systems or alternate coverings | Slab surface not fit for the desired finish | Hides issues, adds thickness, changes details at doors and skirtings. |
| Full replacement or major rework | Rare residential cases with major problems | Usually only considered when structural or severe moisture issues exist due to cost and disruption. |
If You’re Buying a Home With Poor Polished Concrete Floors
Buyers tend to get stuck in the “is it normal” loop. The fastest way out is a structured walk-through and clear documentation.
Buyer action checklist
Ask for paperwork and details
- Exposure level (nil/light, random, full).
- Method used (grind and seal vs honed vs mechanically polished).
- Sealer and densifier products, application dates, warranty, maintenance history.
- Any known moisture issues, past leaks, drainage changes.
Walk-through tips
- View in daylight and at night with downlights on.
- Step back and use the 1.5 m normal viewing idea before you judge defects.
- Check edges, control joints, and transitions at bathrooms and laundries.
- Look for white salts, damp smells, or recurring haze near external walls.
- Wet-test slip risk carefully using a small damp cloth, not by flooding. If it feels slick, note it.
When to escalate
- Efflorescence or persistent whitening and peeling.
- Widespread sealer failure across multiple rooms.
- Trip hazards at joints, repairs, or lipping.
- Significant crack behaviour, especially if it looks like movement rather than hairlines.
Getting the Most Value from Your Home and Building Investment
A poor polished concrete floor can be an aesthetic annoyance or a sign of bigger risks like moisture movement and ongoing sealer failure. The fastest way to protect your budget is to identify the pattern, check where it occurs, decide whether it’s cosmetic, functional, safety-related, or a moisture indicator, then match the fix to the real cause.
If you’re buying a property with polished concrete floors or you’re worried your finish is defective, an independent inspection can document the issues clearly and help you decide what to do next. Book an Owner Inspections assessment and get a photo-backed report you can use for negotiations or rectification discussions.
Seeing white salts, damp edges, or sealer peeling?
Those signs can point to moisture movement. Contact Owner Inspections to discuss what you’re seeing and the best next step for an evidence-based inspection.
Owner Inspections